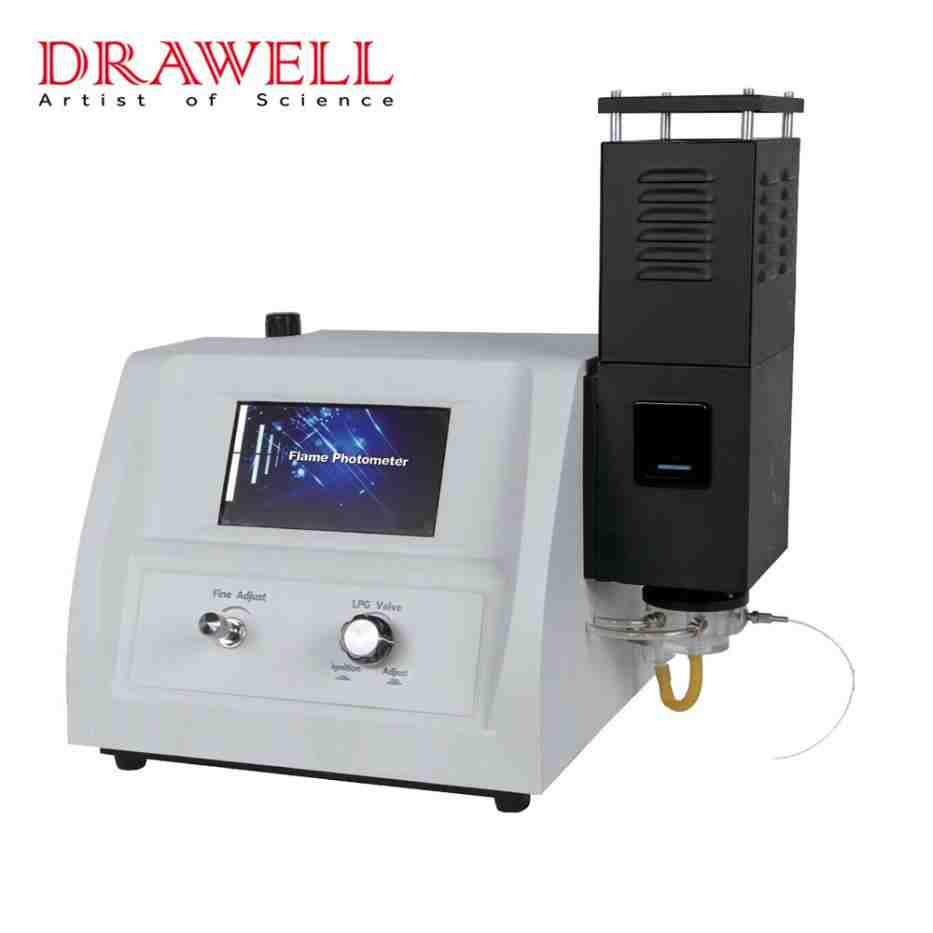
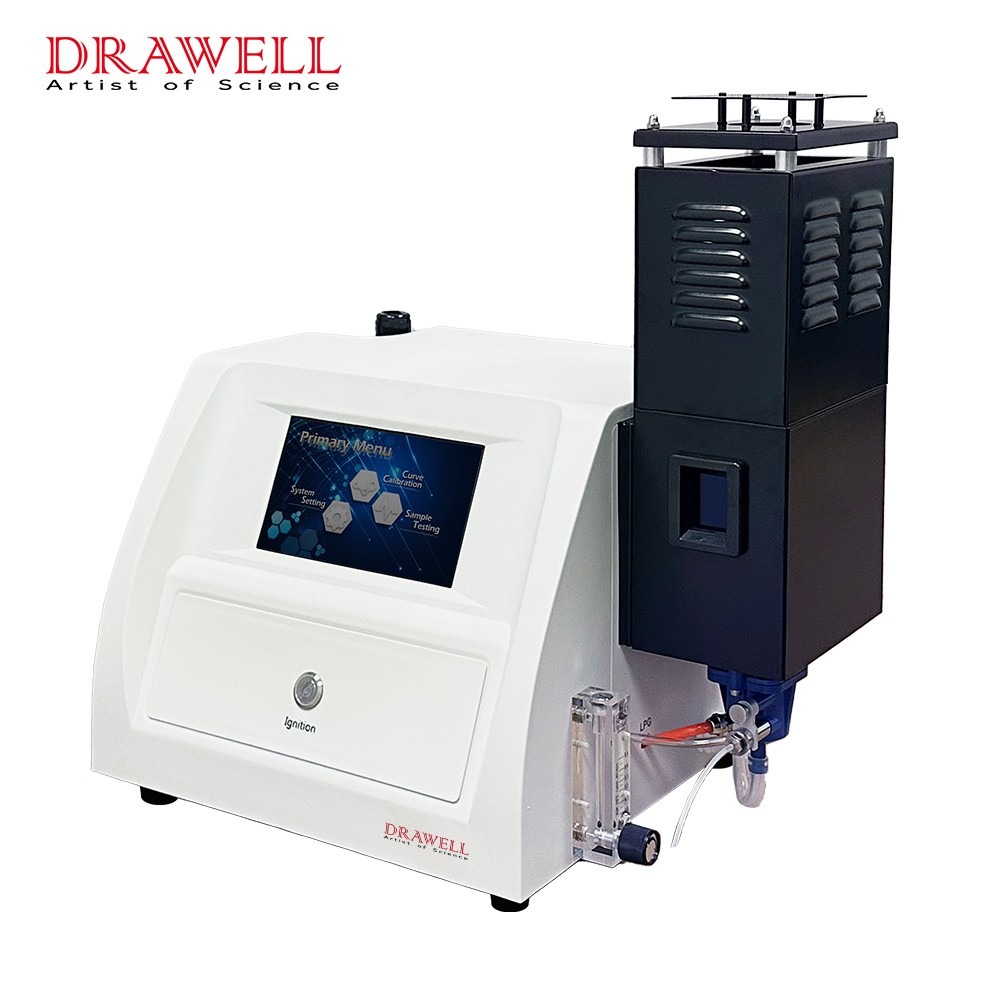
The flame photometer is an analytical instrument based on the principle of emission spectroscopy, including the gas and flame combustion part, optical part, photoelectric converter, and detection record part. The sample is sprayed into the flame by the atomizer, excited to emit light, and the detector measures the emission intensity after the spectrometry, which is proportional to the element’s content to be measured in the sample.

Factors Affecting the Accuracy of Flame Photometer
1. Exciting Conditions:
a. Flame temperature: If the temperature is too low, the sensitivity will decrease, and if the temperature is too high, the ionization of alkali metal will be serious, which will affect the linear relationship of measurement. Factors affecting the flame temperature: Type of gas: It is more suitable and convenient to use propane-air, butane-air, or liquefied petroleum gas-air and other low-temperature flames (about 1900°C). : When it is too large, the flame temperature will drop
b. Changes in the liquid level will cause changes in the concentration of elements after excitation, and the test height must be consistent during measurement.
c. Sprayer: The sprayer is not clean, which may easily cause poor atomization of the test solution. The test solution must be clear during the measurement, and the sprayer should be cleaned with water or ethanol at any time.
d. Liquid level height: Gas pressure: The gas pressure needs to be kept constant during measurement.
2. The Type And Composition Of The Sample
a. The ionization and self-absorption of elements can cause the calibration curve to bend and the linear range to shrink. For example, the self-absorption of potassium is serious at high concentrations, which makes the calibration curve bend to the abscissa direction; at low concentrations, due to the increase of ionization and radiation enhancement, the calibration curve bends to the ordinate direction.
b. The physical properties of the sample should be consistent with the composition of the standard solution
c. Existing ions in the sample will affect the determination, such as the spectral line enhancement when the alkali metal coexists, making the result higher.
3. Instrument Quality
a. Selectivity of the monochromator: the quality of the filter is good, which can reduce the interference of coexisting substances.
b. The photocell is fatigued after being used for a long time.
c. The influence of the surrounding environment on the instrument.
7 Common Flame Thermometer Problems and Solutions
1. When in use, the pressure gauge index of the instrument should be between 0.12-0.15mpa. After lightly pressing the ignition button, no discharge sound can be heard. Observe the glass window, there is no spark and no discharge.
Solution: Open the upper cover of the instrument and check the power supply circuit board, whether there is a 5V voltage output to the igniter. If not, you need to check the output of the transformer on the main control power circuit board, and replace the transformer if there is any abnormality; if there is 5V voltage, you need to check whether the pulse generator is damaged, and replace it if it is damaged.
2. During the ignition process, the sound of “da da da” is heard, and there is no spark in the observation glass window.
Solution: There is sound but no spark during ignition, most of which belongs to the fault of the discharge circuit. Remove the glass windshield, check the distance between the ignition contact and the combustion head and clean the combustion head, and ignite without gas to see if there is an arc. If not, check the ground wire and check whether the ignition wire is open. If there is still no spark after completing the above steps, the igniter should be replaced.
3. After starting up, the air compressor works normally, and the pressure gauge indicates normally. Turn on the gas valve and the sampling switch, you can smell the liquefied smell, and press the ignition switch to ignite the fire.
Solution: First consider whether the gas adjustment is appropriate. The gas adjustment valve generally rotates about 2 to 3 times. Gas concentrations that are too low or too high may result in misfiring. If there is still no ignition after adjustment, the sampling valve and gas valve must be closed immediately, and the glass windshield of the combustion pool should be removed to adjust the positions of the ignition head and the combustion head.
4. After starting up, the air compressor works normally and the pressure gauge indicates normally. When the gas valve and sampling switch are turned on, no liquefied smell can be smelled, and the ignition cannot be ignited by pressing the ignition switch.
Solution: It is necessary to check the liquefied gas circuit, starting from the liquefied gas tank, and check the pressure-reducing valve, gas valve, atomizer, and combustion head in sequence. If the combustion head is blocked, it needs to be cleaned.
5. Turn on the power, turn on the sampling switch and the gas switch after the power is turned on, and there is a flame after ignition, but it is unstable.
Solution: It is necessary to adjust the size of the gas valve. Observe through the observation window. The height of the flame should be controlled at 2-3cm, and the flame should be blue when the air sample is injected. If the flame cannot be controlled by adjusting the gas valve, you need to consider whether the solenoid valve in the gas valve is open, try to adjust the thermocouple close to the flame, and observe the change of the flame. If it still does not work, replace the thermocouple.
6. The air pressure is unstable during the operation, which will affect the measurement results due to the sample injection process, atomization process, and combustion flame.
Solution: Check along the air circuit of the air compressor to check whether the air filter is leaking or clogged. If damaged, it must be replaced in time.
7. The start-up and ignition are normal, and the pressure indicator is also normal, but no sample is injected.
Solution: First check whether the sampling capillary is blocked, unblock it, or replace it. Next, troubleshoot the atomizer, turn on the air compressor and close the gas circuit, remove the atomizer for adjustment, and observe the atomization effect during sample injection by adjusting the position of the jet ejector and the injection tube. Usually, the injection tube should be slowly adjusted at about 1/3 of the bottom of the nozzle to improve the atomization effect.

