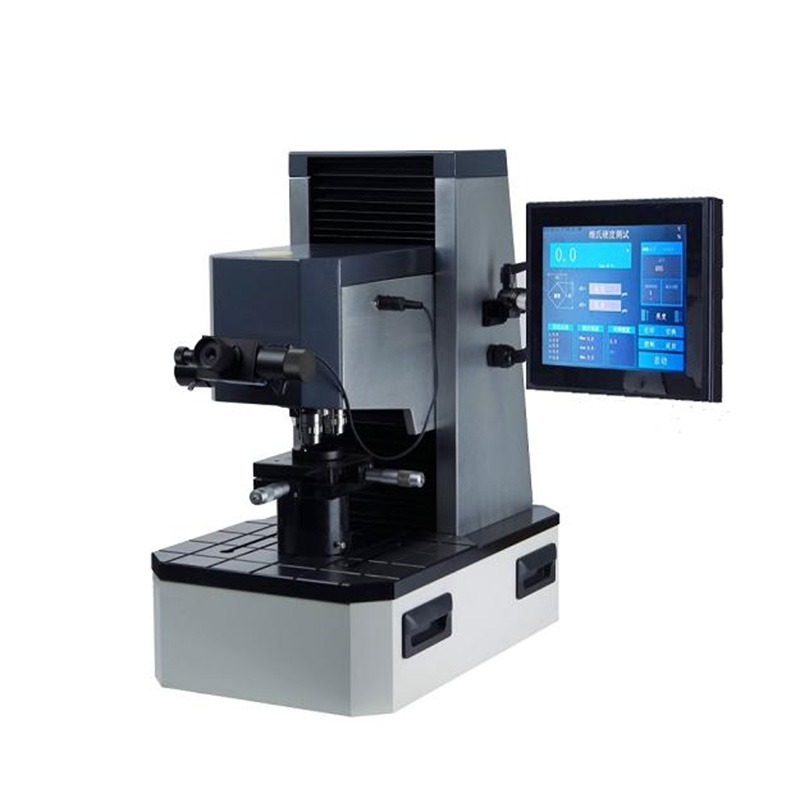
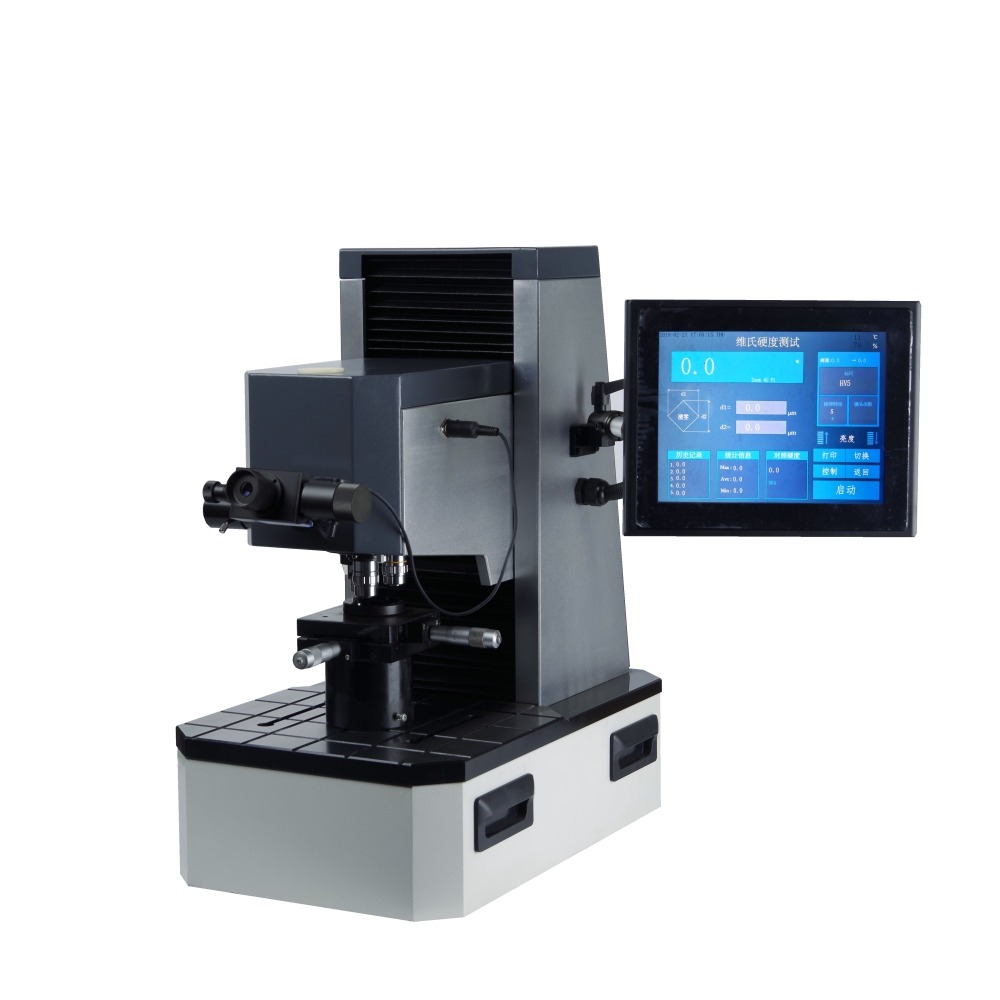
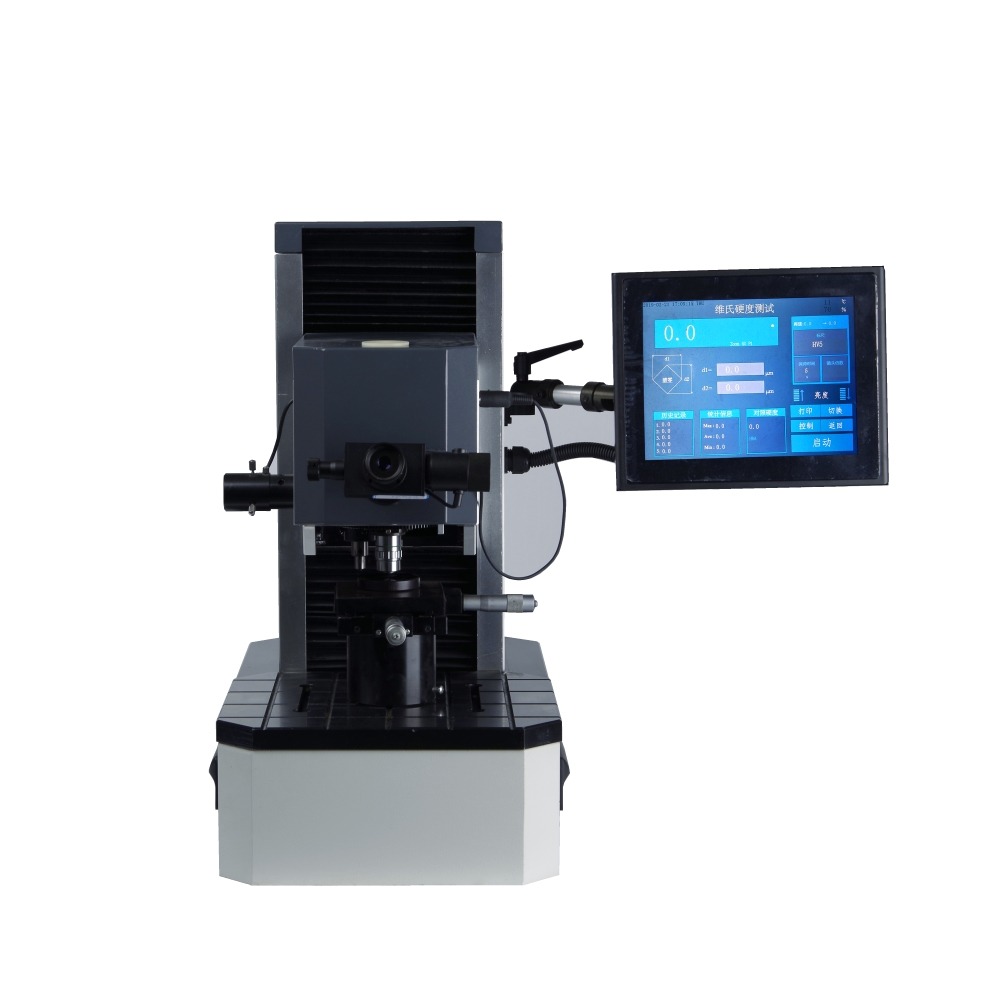
JMHVS-5/10/30/50AT Precision Vickers Hardness Tester
Functional Characteristics:
- New mechanical structure design, strong frame structure
- Movable nose structure, linear slide guide
- High-precision motor drive
- Fixed loading platform to reduce coaxiality error caused by screw rod moving up and down
- The working platform has large space, which can realize large-scale measurement and is suitable for replacing large-scale working platform.
Introductions of JMHVS-5/10/30/50AT Vickers Hardness Tester
JMHVS-5/10/30/50AT Precision Vickers hardness tester is a high-tech product of optoelectronic integration. The instrument is novel and beautiful in shape, and the test head can move up and down freely. It is especially suitable for the testing of large-sized workpieces. Moreover, it has good reliability, operability and intuition. It is an upgraded product of Vickers hardness tester.
The machine adopts computer software programming, high-power optical measurement system and closed-loop control technology of sensors. Through software input, it can adjust the test force, select Vickers and Knoop test methods, holding time, etc. It also provides a variety of hardness conversion tables for reference, which can display the test method and force on color touch screen, and measure indentation length, hardness value and test. Force retention time, number of measurements and the ability to type in year, month, date, test results and data processing, etc., through the printer output.
The hardness tester is equipped with an automatic indentation image analysis system, which can photograph and measure the indentation and metallographic structure of materials. It is suitable for measuring Vickers hardness of micro, thin, surface-infiltrated coatings and brittle materials such as glass, ceramics, agate and gemstone. It is an ideal hardness test for research and testing by scientific research institutions, enterprises and quality inspection departments. Instrument.
Characteristic of JMHVS-5/10/30/50AT Vickers Hardness Tester
Aolong Controlling System Characteristics:
- High precision step control electric loading technology;
- The loading speed of the main test force is very fast and the efficiency is improved.
- High-precision sensors cooperate with control system.
- The curve of unique strength value;
- Loading and unloading speed is faster and more accurate.
- The remote control can be realized and the operation is simple.
- Extremely fast loading speed: loading time of test force is 2-10 seconds;
- Intelligent control of the whole process. Sectional force application, smooth speed change, high precision and high speed step control, etc..
Technical Parameters of JMHVS-5/10/30/50AT Vickers Hardness Tester
| Model | JMHVS-5AT | JMHVS-10AT | JMHVS-30AT | JMHVS-50AT |
| Test force(kgf) | 0.2、0.3、0.5、1、2、2.5、3、5 | 0.3、0.5、1、2、2.5、35、10 | 0.5、1、2、3、5、10、20、30 | 1、2、3、5、10、20、30、50 |
| Loading method | Automatic loading and uploading | |||
| Test force switching | Automatic | |||
| Language selection | Chinese-English | |||
| Dwell time | 5-60s | |||
| Indenter and objective lens switching | Automatic | |||
| Testable parameter | HV/HK | |||
| Objective lens | 10X、20X | |||
| Digital Encoder Micrometer Eyepiece | 10X | |||
| Maximum measuring length | 400um | |||
| Minimum graduation | 0.1um | |||
| Maximum height of sample | 215mm | |||
| Maximum depth of sample | 160mm | |||
| Scale conversion | HV、HK、HRA、HRB、HRC、HRD、HRE、HRF、HRG、HRK、HR15N、HR30N、HR45N、HR15T、HR30T、HR45T、HBW | |||
| Touch screen operation panel | Force Curve, Options, Database, Control, Loading Start, Lighting Adjustment, Object Switching | |||
| Value Display | D1, D2 value, HV, HK indication, hardness value, conversion value, shelf life, test times | |||
| Light source | LED | |||
| Communication interface | RS 232 | |||
| Executive standard | JJG151,GB/T 4340, ISO/DIN6507,ASTM E-384 | |||
| Power supply | AC90-240V/50Hz | |||
| Shape size | 510*310*600mm | |||
| Machine net weight | About 70kg | |||
Sample requirements
Although Vickers hardness can be used to measure both soft and hard materials, it also has its own requirements for specimens. Only by choosing the appropriate sample can the error caused by this be avoided and the accurate Vickers hardness value be obtained.
Sample appearance requirements
The surface of Vickers hardness specimen should be smooth and smooth, no oxide scale and impurities, no oil stain. Generally speaking, the surface roughness parameter Ra of Vickers hardness specimen is not more than 0.40μm, that of small load Vickers hardness specimen is not more than 0.20μm, and that of micro Vickers hardness specimen is not more than 0.10μm. (Micron is the unit of surface roughness parameter Ra.)
Requirements for sample preparation
During the preparation of Vickers hardness specimen, the influence of superheat or cold hardening on surface hardness should be minimized.
In addition, for specimens with small cross-section or irregular shape, such as spherical or conical, it is necessary to mosaic the specimens or use special platforms.
Influencing factors of Vickers hardness test
Hardness is a very important performance index of material performance, and also an important means of rapid quality control in production process. The most commonly used hardness testing methods are Brinell hardness, Rockwell hardness and Vickers hardness. Vickers hardness has the widest range of hardness measurable. At the same time, the hardness of workpieces, coatings, infiltrated layers and even different microstructures can be measured according to different testing force values. Especially for smaller samples, accurate testing results can be obtained by mosaic, so Vickers hardness can be measured accurately. It has the widest application range. However, in Vickers hardness testing, the surface roughness of the sample is required to be high, especially the Vickers hardness of small force value. It requires polishing treatment of the surface to obtain accurate test results. However, in the sample preparation process, it is difficult to obtain a very flat surface. After grinding and polishing, the test surface and the indenter will not be completely vertical, and there will be some angle deviation. Especially when some coatings and infiltration layers are on the sample surface, grinding and polishing will produce certain chamfer, which will lead to a certain angle deviation between the test surface and the indenter.
- Angle between the test surface and indenter
Vickers hardness test is an indentation method. The indenter is pressed vertically into the surface of the sample to be tested under a certain force value, resulting in plastic deformation on the surface of the sample leaving a diamond-shaped indentation. When the sample surface has a certain inclination angle, the four corners of the diamond indenter bear different forces, resulting in different indentation morphologies.
The plastic deformation around indentation of non-inclined samples is more uniform, and the greater the inclination angle of inclined samples, the more serious the plastic deformation after testing. The deformation around the indentation on the slope contacted with the indenter is more serious, the diagonal line of the indentation is shorter, while the deformation around the indentation on the slope is less, and the diagonal line of the indentation is longer. After flattening the tested samples, it was observed under the microscope that the indentation appeared in different degrees, which led to the phenomenon of “arching” near the edge of the diagonal line. This phenomenon became more obvious with the increase of the inclination angle, resulting in the bigger indentation pit, the longer the diagonal line, and the smaller the hardness test value.
In Vickers hardness test, the angle deviation between the test surface and the indenter will lead to the lower Vickers hardness test value, and the larger the deviation is with the increase of the angle. In order to obtain more accurate test results, it is necessary to avoid obvious tilt angle in sample preparation. At the same time, with the increase of inclination angle, the difference of indentation diagonal increases. When the inclination angle is 1-2 degrees, the difference of indentation meets the requirements of national standards, but when the inclination angle is 3 degrees, it can not meet the requirements.
- Parameter values
In Vickers hardness test, we should ensure the accuracy of Vickers hardness value, optimize the relevant parameters, analyze the error reasons of test force, and study the influence of these factors on Vickers hardness value, so as to effectively reduce the measurement error.
The force of lever system, spindle, working shaft and weight gravity enlarged by a certain lever ratio belongs to the component of the test force, and also includes the friction force during the movement of the aforementioned facilities. It can be seen that the error of Vickers hardness test force mainly comes from the lever ratio, the lever spindle, the gravity of the working shaft, the friction force and the weight gravity. In the process of Vickers hardness test, the relevant parameters directly affect the results of the test force. In order to reduce the error, the staff should select the appropriate value of the test force on the basis of the Vickers hardness test principle, and take effective measures to solve the causes of the error excess, so as to improve the accuracy of Vickers hardness test.
Host Standard Configuration of JMHVS-5/10/30/50AT Vickers Hardness Tester
| Name | Quantity | Name | Quantity |
| XY test-bed | 1 | Slice clamping table | 1 |
| Flat-mouthed clamping table | 1 | Filament stand | 1 |
| screwdriver | 2 | Horizontal adjustment screw | 4 |
| 10xMicrometer eyepiece | 1 | Vickers hardness block | 2 |
| Level | 1 | Spare fuse | 2 |
| Manual book | 1 | Product Qualification Certificate | 1 |


