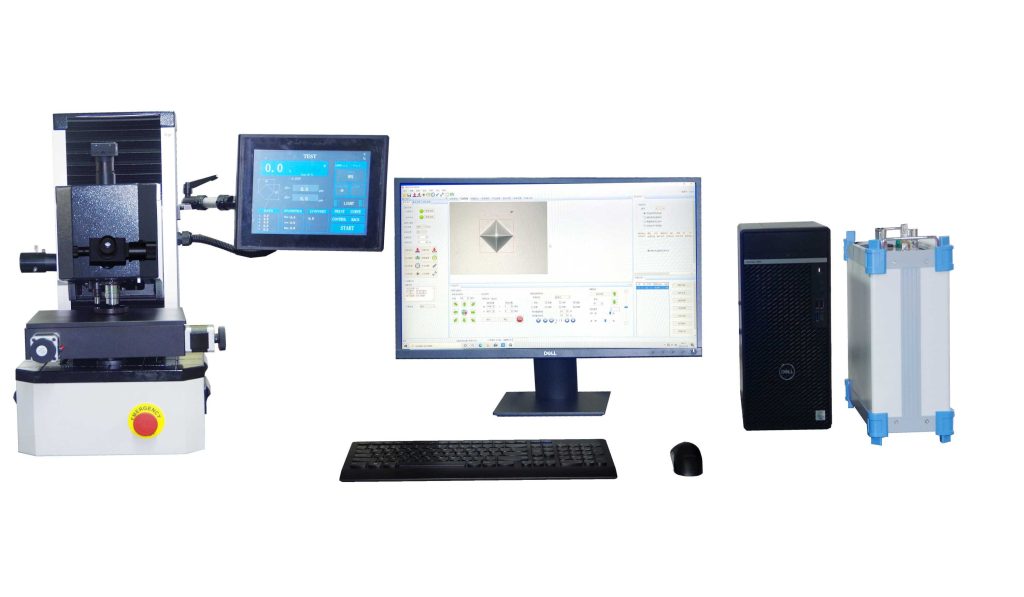
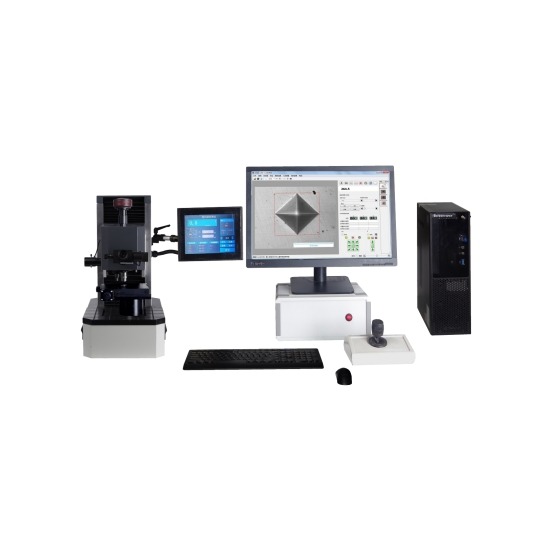
JMHVS-5/10/30/50-XYZ Automatic Precision Vickers Hardness Tester
Functional Characteristics:
- New mechanical structure design, strong frame structure
- Movable nose structure, linear slide guide
- High-precision motor drive
- Fixed loading platform to reduce coaxiality error caused by screw rod moving up and down
- The working platform has large space, which can realize large-scale measurement and is suitable for replacing large-scale working platform.
Introductions of JMHVS-5/10/30/50-XYZ Vickers Hardness Tester
JMHVS-5/10/30/50-XYZ Automatic Precision Vickers Hardness Tester is a high-tech product of optoelectronic integration. The instrument is novel and beautiful in shape, and the test head can move up and down freely. It is especially suitable for the testing of large-sized workpieces. Moreover, it has good reliability, operability and intuition.
It is an upgraded product of Vickers hardness tester. The machine adopts computer software programming, high-power optical measurement system and closed-loop control technology of sensors. It can adjust the test force, select Vickers and Knoop test methods, holding time and so on, and provide a variety of hardness conversion tables for reference. It can display the test method and test force on color touch screen. It can measure indentation length, hardness value, holding time, etc. The retention time of test force, the number of measurements, the year, month, date, test results and data processing can be typed in, and the test report can be output through the printer.
Hardness tester is equipped with indentation image automatic analysis system, which can not only photograph and measure the indentation and metallographic structure of materials, but also measure the depth of hardened layer of workpiece by planning path. It is suitable for measuring Vickers hardness of micro, thin specimens, surface coating and other brittle materials such as glass, ceramics, agate, gemstone, etc. It is an ideal hardness testing instrument for research and testing by scientific research institutions, enterprises and quality inspection departments.
Characteristic of JMHVS-5/10/30/50-XYZ Vickers Hardness Tester
Controlling System Characteristics:
- High Precision Step Control Electric Loading Technology
- The loading speed of the main test force is very fast and the efficiency is improved.
- High Precision Sensor Cooperating with Control System
- Curve Chart of Sole Force Value
- Loading and unloading speed is faster and more accurate
- The remote control can be realized and the operation is simple.
- Extremely Fast Loading Speed: Loading Time of Test Force 2-6 seconds
- Intelligent control of the whole process. Sectional force application, smooth speed change, high precision and high speed step control, etc.
Main Technical Parameters of JMHVS-5/10/30/50-XYZ Vickers Hardness Tester
| Model | JMHVS-5-XYZ | JMHVS-10-XYZ | JMHVS-30-XYZ | JMHVS-50-XYZ |
| Test force(kgf) | 0.2、0.3、0.5、1、2、2.5、3、5 | 0.3、0.5、1、2、2.5、3、5、10 | 0.5、1、2、3、5、10、20、30 | 1、2、3、5、10、20、30、50 |
| Loading method | Automatic loading and uploading | |||
| Test force switching | Automatic | |||
| Language selection | Chinese-English | |||
| Dwell time | 5-60s | |||
| Indenter and objective lens switching | Automatic switching | |||
| Testable parameter | HV/HK | |||
| Objective lens | 10X、20X | |||
| Digital Encoder Micrometer Eyepiece | 10X | |||
| Maximum measuring length | 400um | |||
| Minimum graduation | 0.1um | |||
| Maximum height of sample | 215mm | |||
| Maximum depth of sample | 160mm | |||
| Scale conversion | HV、HK、HRA、HRB、HRC、HRD、HRE、HRF、HRG、HRK、HR15N、HR30N、HR45N、 HR15T、HR30T、HR45T、HBW | |||
| Touch screen operation panel | Force Curve, Options, Database, Control, Loading Start, Lighting Adjustment, Object Switching | |||
| Value Display | D1, D2 value, HV, HK indication, hardness value, conversion value, shelf life, test times | |||
| Light source | LED | |||
| Communication interface | RS 232 | |||
| Executive standard | JJG151,GB/T 4340,ISO/DIN6507,ASTM E-384 | |||
| Power supply | AC220V±5%,50-60Hz | |||
| Shape size | 510*310*600mm | |||
| Machine net weight | About 70kg | |||
Host Standard Configuration of JMHVS-5/10/30/50-XYZ Vickers Hardness Tester
| Name | Quantity | Name | Quantity |
| XY test-bed | 1 | Slice clamping table | 1 |
| Flat-mouthed clamping table | 1 | Filament clamping table | 1 |
| screwdriver | 2 | Horizontal adjustment screw | 4 |
| 10X Micrometer eyepiece | 1 | Vickers hardness block | 2 |
| Level | 1 | Spare fuse | 2 |
| Manual book | 1 | Product Qualification Certificate | 1 |

Automatic Measurement System of JMHVS-5/10/30/50-XYZ Vickers Hardness Tester
Product introduction
The automatic Vickers hardness image measurement system integrates optical imaging, mechanical displacement, electronic control, digital imaging, image analysis, computer processing and other latest professional technologies. The micro Vickers hardness tester and the automatic carrier stage are controlled by the computer mainframe, and the hardness indentation is digitally imaged on the computer screen. Then, the hardness indentation is digitally imaged on the computer screen through automatic reading, manual reading and so on. By means of this method, the micro-Vickers hardness, hardening depth, film thickness and distance between two points of metal and some non-metallic materials and various coatings and coatings are accurately measured. It can also photograph the metal surface topography and print the fixed rate. This system breaks through the traditional hardness testing method and achieves full automatic, high precision and high repeatability hardness testing. It is an important equipment for material analysis.
Function of Automatic Measurement System
- XYZ Sample movement control: The system supports XY electric mobile sample table and Z axis control, including manual control, electric control (rocker control) and automatic control (software control). X-Y direction can move synchronously. Electric control uses three-dimensional rocker control, ergonomic principle, simple and convenient, arbitrary.
- Software Manipulation and Loading Mode
- Location Mobile Loading: The object is moved directly to the software setting position and loaded;
- Fixed-point Mobile Loading: Select any point on the specimen, move below the indenter and load it;
- Directional Moving Loading: Mouse Click to control the platform to move arbitrarily in eight directions. Moving step can be set and loaded;
- Loading at any position: The mouse drags the loading table to move in any direction, so that users can browse the surface of the sample easily, and the loading point can be set at any position;
- Variable speed mobile: When the platform moves, there are five speeds to choose from;
- Other functions: Various professional functions, such as arbitrary location of origin, automatic reset, mechanical limit and so on, can meet various needs.
- Fully automatic operation: The system can automatically move multi-points, turn towers, load, focus and measure according to the set path, and draw hardening curve automatically;
- Conversion, correction and validation of hardness values: The system can convert the measured Vickers hardness values into other hardness values such as HB, HR, etc. It can validate the measured values of samples effectively.
Technical Parameter of Automatic Measurement System
| Executive standard | GBT4340.1,GBT4340.2,ASTM_E92 |
| Test force loading method | Automatic(Loading、duration、uploading) |
| XYZ Test-bed and mobile control | The system provides XY electric mobile sample table and Z-axis control: 1. XY stroke: 50mm*50mm mesa size: 200mm X180mm, displacement repetition accuracy < 2um; XYZ displacement resolution can reach 2um; 2. The moving speed of XYZ is adjustable. 3. You can click the mouse to control the movement, or move up or down by inputting the distance of the movement. 4. The rocker can be used to control the movement of XY and Z, and the position can be feedback in time. |
| Loading mode and path setting | A variety of ways to ensure that users can still obtain satisfactory measurement results when the sample is not placed vertically or horizontally. Two-point method: the moving direction of the object can be specified by clicking two points on the sample image at will. Normal mode: Normal line tangential to the edge of the specimen is selected as the moving direction of the object platform. Angular bisector: The direction of the bisector is used as the moving direction of the sample through the selection of the angle. Arbitrary point mode: the mobile platform is placed at any position, loading point is added, and then loading and measuring once. Loading at any point: Double-click at any position of the platform, the platform automatically moves the point to the center of the pressure head field of view, loading and measuring. Path adjustment: For the selected path, horizontal mirror, vertical mirror, 90 degrees, 180 degrees, arbitrary angle rotation, position translation and other operations can be carried out. |
| Fully automatic measurement | The hardness value is calculated by point-by-point automatic loading, auto-focusing and auto-indentation measurement according to the set loading path, and the hardening curve is drawn. |
| Camera and calibration management | 1. 13 million pixels USB2.0 CMOS dedicated to microscopic measurement cameras 2. Camera can be calibrated by hardness calibration block or calibration ruler 3. In order to improve the accuracy of measurement, different test forces can be calibrated separately and the system can be loaded automatically. |
| Hardness Value Conversion and Correction | Hardness conversion: Vickers hardness values measured can be converted to other hardness values such as HB, HR, etc. |
| Data statistics | Automatically calculating the mean and variance of hardness |
| Measurement algorithm | 1. Leading automatic reading technology – leading automatic reading technology, not only can obtain sub-pixel, high precision and high repeatability results, but also can be applied to general indentation images, even including a small amount of rust, scratches, uneven light, shallow corrosion images, measurement speed is very fast; 2. Unique manual point extraction and automatic point finding technology – users can pick up approximate points near the four indentation vertices, the system automatically distinguishes the best vertex position and reads directly, which meets the common user’s habits and greatly reduces the user’s labor intensity; 3. General manual measurement methods, including 4-vertex measurement, 2-diagonal measurement, etc. When measuring 4 vertices, 4 vertices can be selected according to any order, which is convenient for users. |
| Hardening curve | Automatic drawing of hardening curve: |
| Data storage | The original measurement data and images can be saved in a document for subsequent calls and reports; a file holds all the data of a measurement. |
| Test report | Automatically generate WORD or EXCEL document reports; report formats can be customized; standard formats include hardness values, statistics, indentation images, and hardening curves for each single measurement point. |
| Knoop hardness | It can be set to Knoop hardness measurement. |
Software Standard Configuration of Automatic Measurement System
| Name | Quantity | Name | Quantity |
| XY Electric test-bed | 1 | 3-D test-bed Control Box | 1 |
| Power cord | 1 | USB Connecting line | 1 |
| XYZ Connecting line | 1 | Software Installation CD | 1 |
| 3 million dedicated cameras | 1 | Desktop computer | 1 |
| USB key | 1 |
Version Specification Configuration of Automatic Measurement System
Automatic Hardness Image Measurement System:
XY Electric Platform + 3 million Digital Camera + XYZ Three-dimensional Platform Control Box + Automatic Hardness Image Software (Automatic Platform, Automatic Focusing, Automatic Turret, Automatic Loading, Automatic Reading).


