Polarimeters are used to measure the optical activity of substances, which is their ability to rotate the plane of polarization of plane-polarized light. Understanding the optical activity of substances helps in determining the sample’s purity, concentration, or molecular structure, which are crucial in industries such as pharmaceuticals, food production, and chemistry. Here we will provide a guide on how to effectively use a polarimeter, from preparation to obtaining and interpreting results, and discuss common mistakes to avoid.
Understanding the Basics of a Polarimeter
Before diving into the process of using a polarimeter, it’s essential to understand its working principle and components.
What Does a Polarimeter Measure?
A polarimeter measures optical rotation, which is the rotation of polarized light as it passes through an optically active substance. The extent of this rotation can indicate the concentration of a solution or the purity of a compound, depending on the application. This is especially useful in identifying sugars, amino acids, and certain pharmaceuticals.
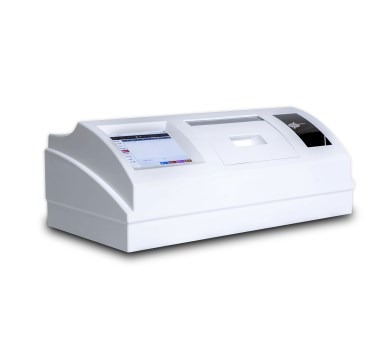
Components of a Polarimeter
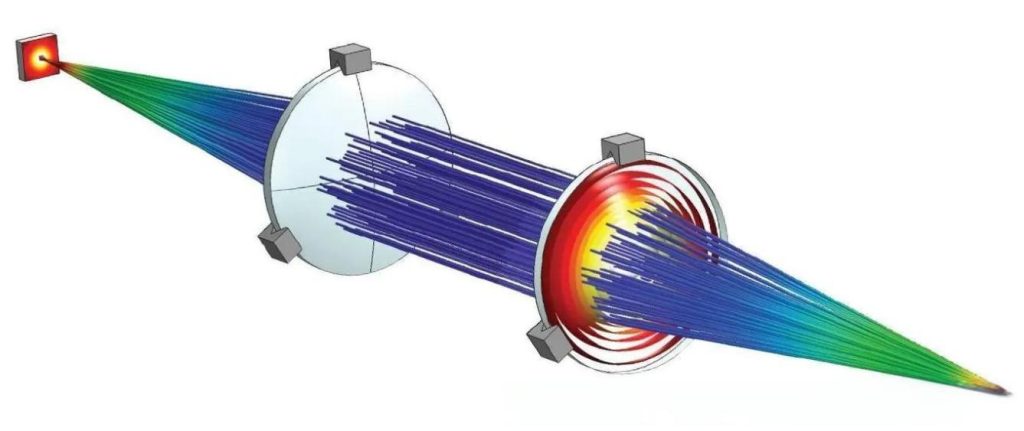
A typical polarimeter consists of the following components:
- Light Source: Provides monochromatic light, usually sodium (589 nm) or LED.
- Polarizer: Polarizes the light into a single plane.
- Sample Tube: Holds the liquid sample, typically made of glass, with varying lengths depending on the application.
- Analyzer: Measures the angle of rotation after the polarized light passes through the sample.
- Scale or Digital Display: Displays the measured angle of optical rotation.
Types of Polarimeters
There are several types of polarimeters:
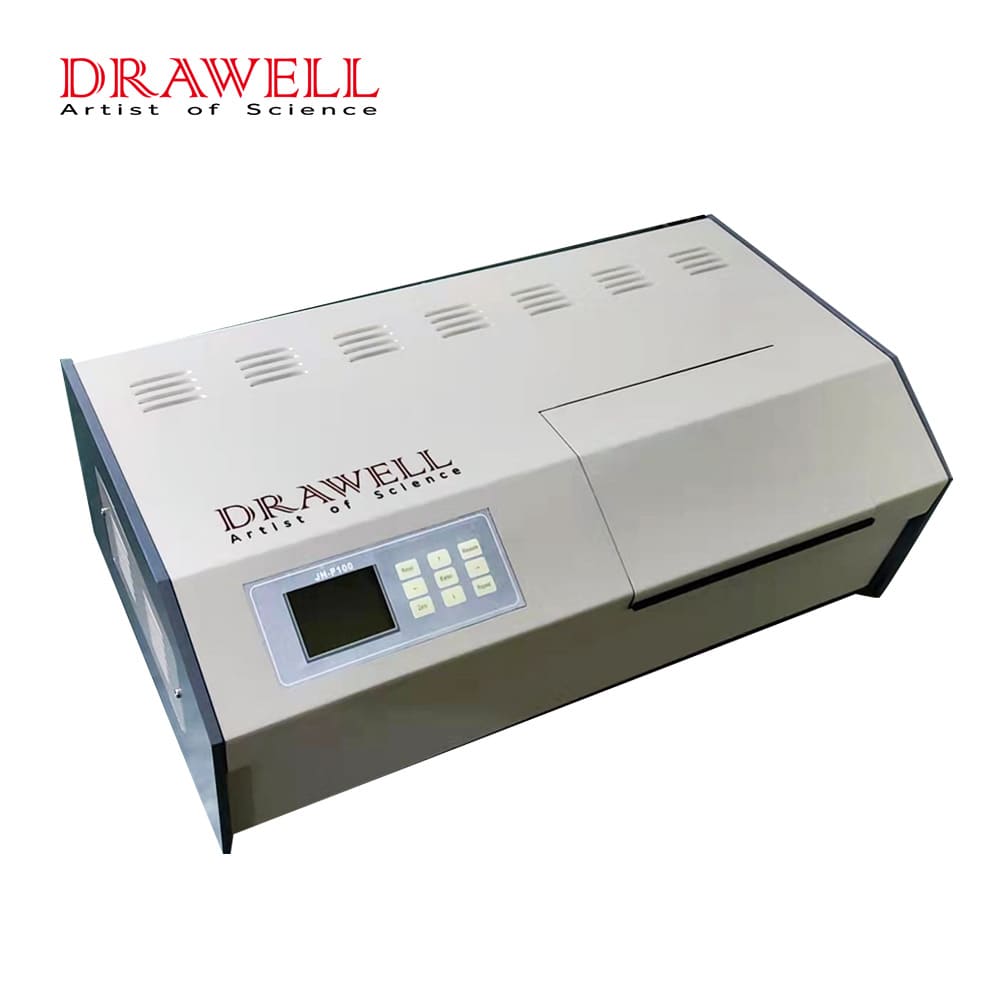
- Manual Polarimeters: Require the user to manually adjust the analyzer to determine the angle of rotation.
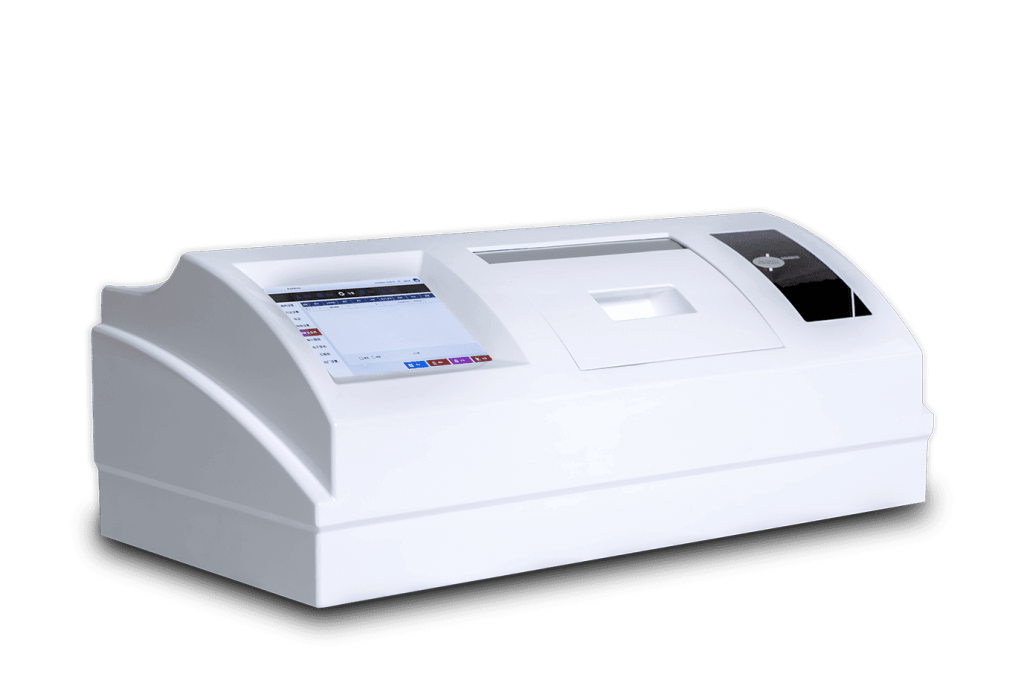
- Digital Polarimeters: Provide automated readings and are more user-friendly.
- Automatic Polarimeters: Offer even higher precision with automated calibration and result calculation.
Understanding these basic components and functions is crucial before operating a polarimeter. With this foundational knowledge, you can now move on to the practical steps of using the device.
How to Use a Polarimeter?
Preparing the Polarimeter for Use
Proper preparation ensures the accuracy of polarimeter readings. This involves checking the instrument’s calibration and preparing the sample correctly.
Steps for Preparing the Polarimeter:
- Calibration: Make sure the polarimeter is calibrated with a known standard, like pure water, which should show zero optical rotation.
- Sample Preparation: Clean the sample tube thoroughly to avoid contamination. Ensure the liquid sample is free of air bubbles, as these can distort light and affect the readings.
- Setting the Wavelength: If your polarimeter allows wavelength adjustment, set it according to the required measurement conditions, typically to the sodium D-line at 589 nm.
Step-by-Step Guide on Using a Polarimeter
Operating a polarimeter correctly is critical to obtaining precise and accurate measurements. Whether you are using a manual, digital, or automatic polarimeter, following a structured, detailed process ensures consistent results. Below is a step-by-step guide on how to use a polarimeter effectively.
Step 1: Turn On the Polarimeter
Before you begin, ensure that the polarimeter is connected to a power source and turned on.
Allow the light source to warm up for a few minutes to stabilize the intensity and wavelength. This is particularly important if the device uses a sodium lamp, which can fluctuate if not properly warmed up.
Ensure the display or scale is set to zero (or a base reading), especially if you’re using a manual or analog polarimeter.
Step 2: Prepare the Sample and Sample Tube
Clean the sample tube thoroughly with distilled water and then dry it using a soft, lint-free cloth. This ensures no contaminants interfere with the light passing through the sample.
Fill the sample tube with the solution to be measured. Be cautious not to overfill the tube, as any spillage can affect the results.
- Ensure the liquid level is even and free of air bubbles. Air bubbles can distort the light path and give inaccurate readings.
- For volatile substances or samples that are sensitive to light or temperature, cover the sample tube to prevent evaporation or exposure.
Seal both ends of the tube with the provided caps to avoid spillage during the measurement.
Step 3: Insert the Sample Tube into the Polarimeter
Carefully place the sample tube into the sample chamber of the polarimeter. Ensure the tube is securely positioned without any tilting or misalignment, as this could affect the light path and accuracy.
If the polarimeter is equipped with a temperature control system, set the required temperature for your sample (if relevant to your experiment).
Step 4: Set the Wavelength (Optional)
If your polarimeter has an adjustable wavelength feature, set it to the appropriate wavelength for your sample.
- The most common wavelength used is the sodium D-line (589 nm), but some experiments may require different wavelengths.
For automatic polarimeters, this step may be done automatically based on your input settings.
Step 5: Align the Polarizer and Analyzer (Manual Polarimeters)
For manual polarimeters, rotate the analyzer slowly while observing the light intensity through the eyepiece.
Your goal is to find the point where the light passing through the sample appears darkest (or reaches a minimum intensity). This indicates that the polarized light has been rotated by the sample and is now aligned.
Once the light is at its darkest point, record the reading from the angular scale on the polarimeter.
Step 6: Take the Measurement (Digital and Automatic Polarimeters)
In digital or automatic polarimeters, this process is automated. Simply press the “Measure” button after inserting the sample tube.
The instrument will align the polarizer and analyzer electronically, measure the angle of optical rotation, and display the result on a digital screen.
Ensure that the displayed measurement is stable before recording the value.
Step 7: Record the Results
Once you have the optical rotation reading, record the result. Include all relevant details such as:
- The optical rotation value (in degrees).
- The temperature at which the measurement was taken.
- The wavelength of the light used (if different from the standard 589 nm).
- The length of the sample tube (typically measured in decimeters).
- The concentration of the sample (if relevant to your experiment).
Step 8: Repeat the Measurement
For greater accuracy, repeat the measurement several times. This helps ensure that any errors or fluctuations in readings are minimized.
Average the readings to get a final, reliable value.
Step 9: Calculate Specific Rotation (Optional)
If you are calculating specific rotation, use the following formula:
[α]=α/l*c
Where:
- α is the observed optical rotation (in degrees).
- l is the path length of the sample tube (in decimeters).
- c is the concentration of the sample (in grams per milliliter).
Step 10: Remove and Clean the Sample Tube
After you’ve finished measuring, carefully remove the sample tube from the polarimeter.
Immediately clean the sample tube with distilled water to remove any residual solution and prevent contamination or damage. Dry the tube thoroughly before storing it.
Following these steps ensures a smooth and accurate polarimeter reading. From setting up the equipment to recording and interpreting results, each stage plays a critical role in ensuring the reliability of your measurements. Taking multiple readings and averaging them is a good practice to ensure the highest level of accuracy.
Common Mistakes and How to Avoid Them
Even with a well-prepared polarimeter, there are common mistakes that can lead to inaccurate results. Knowing these mistakes and how to avoid them ensures more precise measurements.
- Incorrect Calibration: Failing to calibrate the instrument can result in skewed readings. Always calibrate with a known standard.
- Improper sample preparation: Ensure that the sample is clear, free of impurities, and at a suitable concentration.
- Poor Sample Tube Handling: Contaminants or air bubbles in the sample tube can alter light refraction. Always clean the tube thoroughly and remove any bubbles.
- Ignoring Temperature Effects: Temperature can affect the optical rotation of many substances. Use a temperature-controlled sample chamber if necessary, and always record the temperature during the measurement.
- Rushing Through Measurements: Take the time to repeat readings and average them for more consistent results.
Polarimeters are essential tools in fields that require precise measurement of optical activity, such as chemistry, food quality control, and pharmaceuticals. Using a polarimeter involves careful preparation, methodical operation, and proper result interpretation. By understanding the basic principles of how a polarimeter works, following the step-by-step process, and avoiding common pitfalls, users can achieve accurate and consistent results. Proper maintenance and care will also extend the life and reliability of the instrument, ensuring long-term success in all applications.