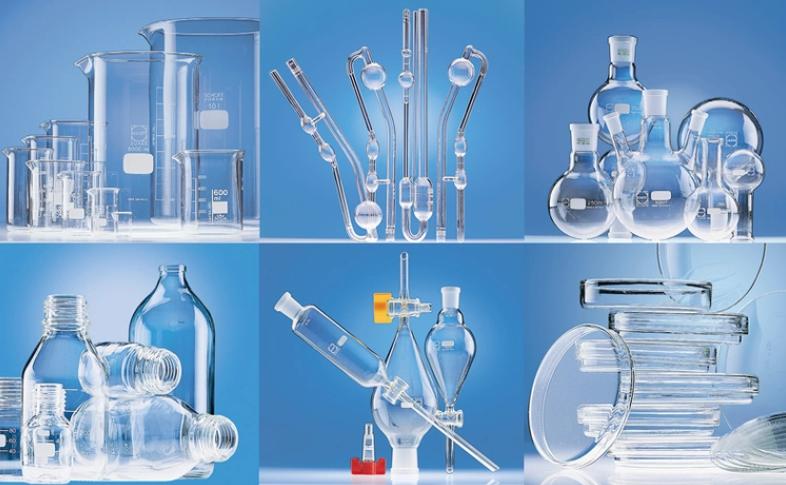
In the laboratory environment, glassware is a common experimental tool, such as test tubes, flasks, petri dishes, etc. Due to the accuracy and reliability requirements of the experiment, these glassware must be strictly sterilized before use to eliminate possible microorganisms and prevent interference with the experimental results. The quality of sterilization is directly related to the success or failure of the experiment and the safety of the experimenter. Different experimental purposes and types of glassware may require different sterilization methods, so it is crucial to understand and master the appropriate sterilization technology.
Common Sterilization Methods and Steps
Sterilizing laboratory glassware involves several effective methods, each tailored to specific needs and types of glassware. Whether using heat, chemicals, or ultraviolet light, the key is to choose the method that best suits the material and the level of sterilization required. Below, we detail the steps for four common sterilization methods: autoclaving, dry heat sterilization, chemical sterilization, and UV sterilization.
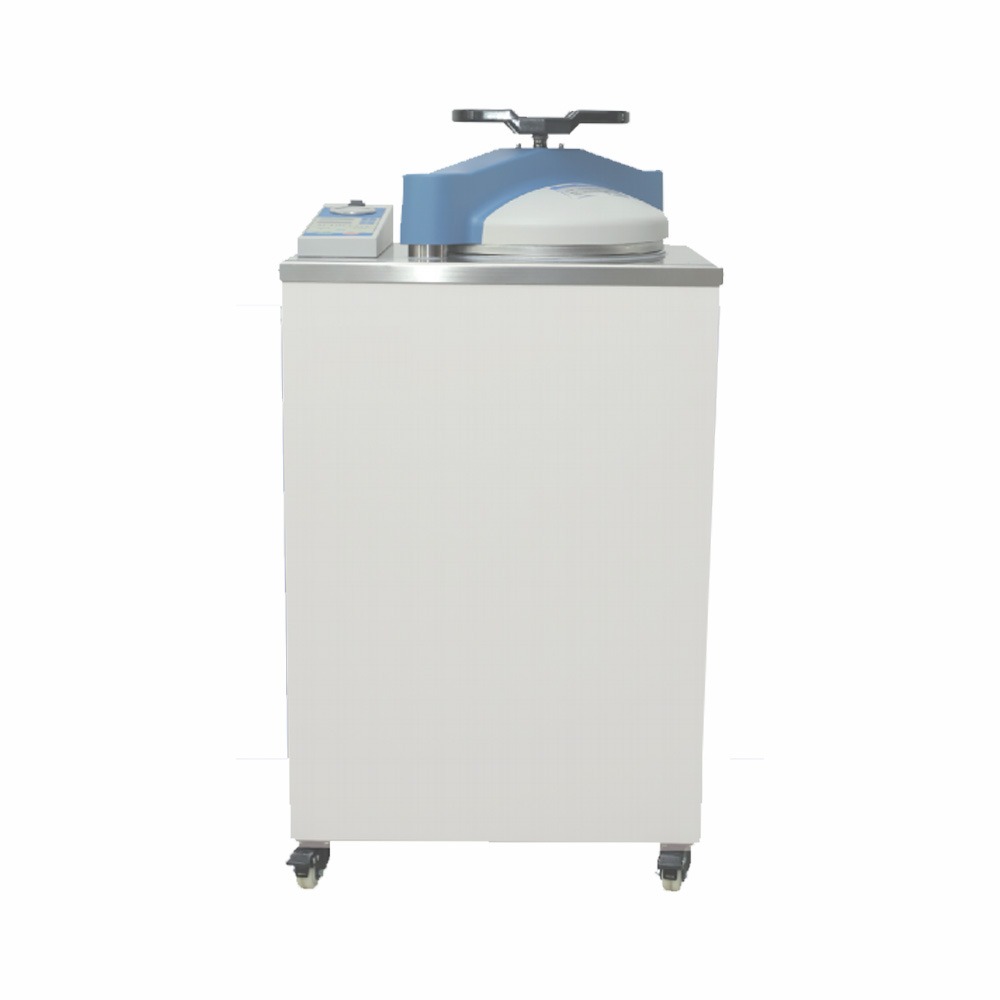
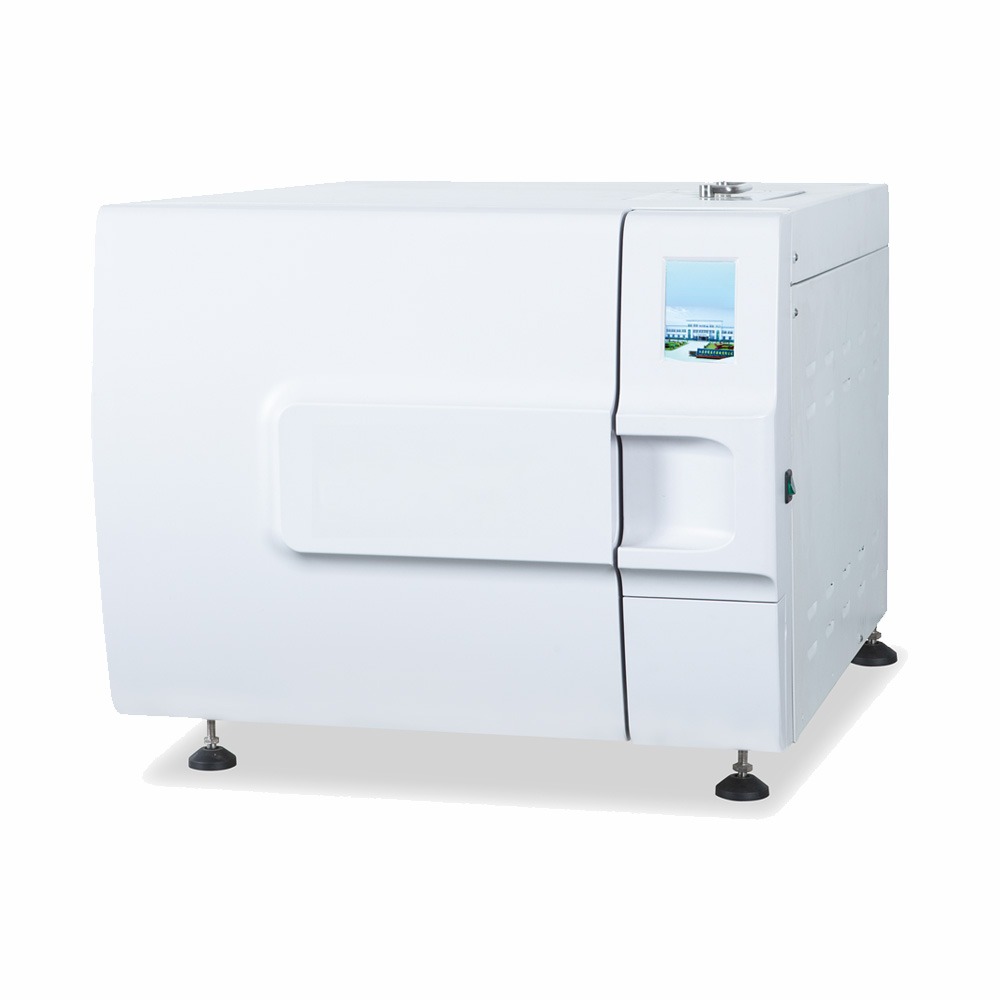
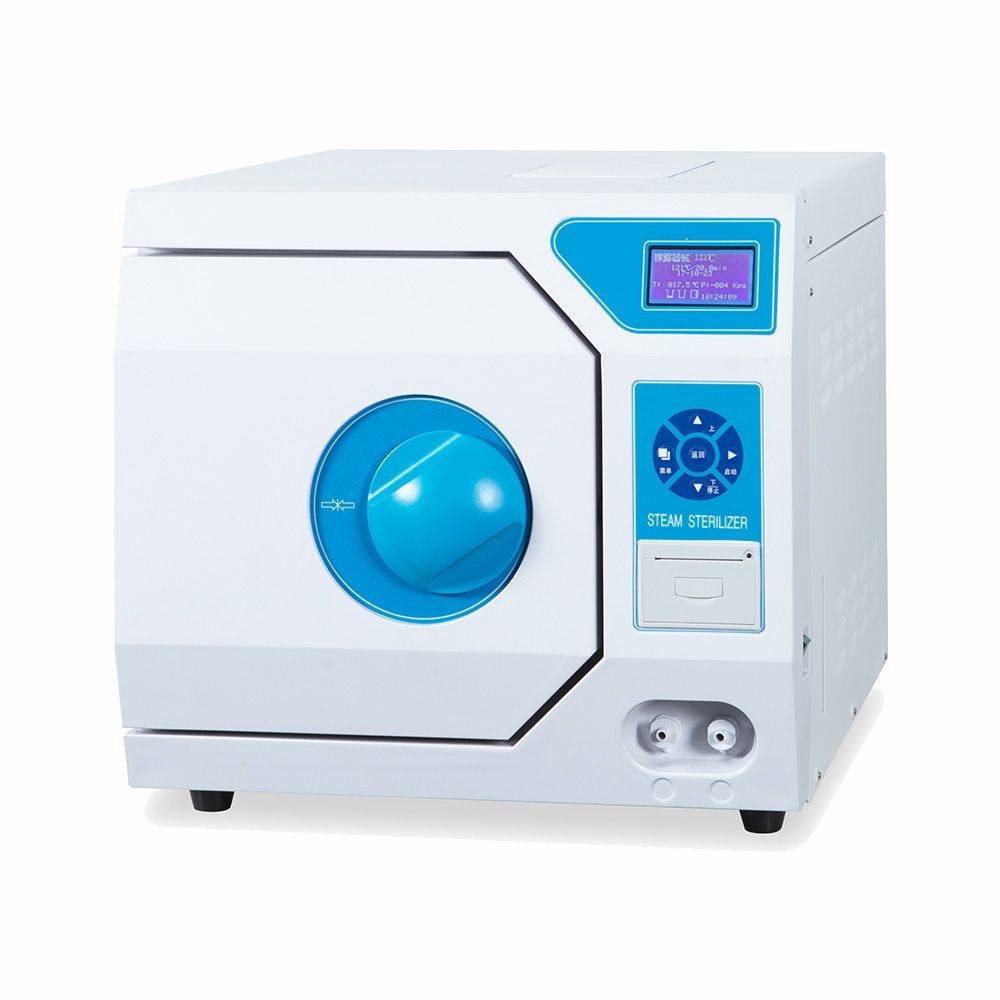
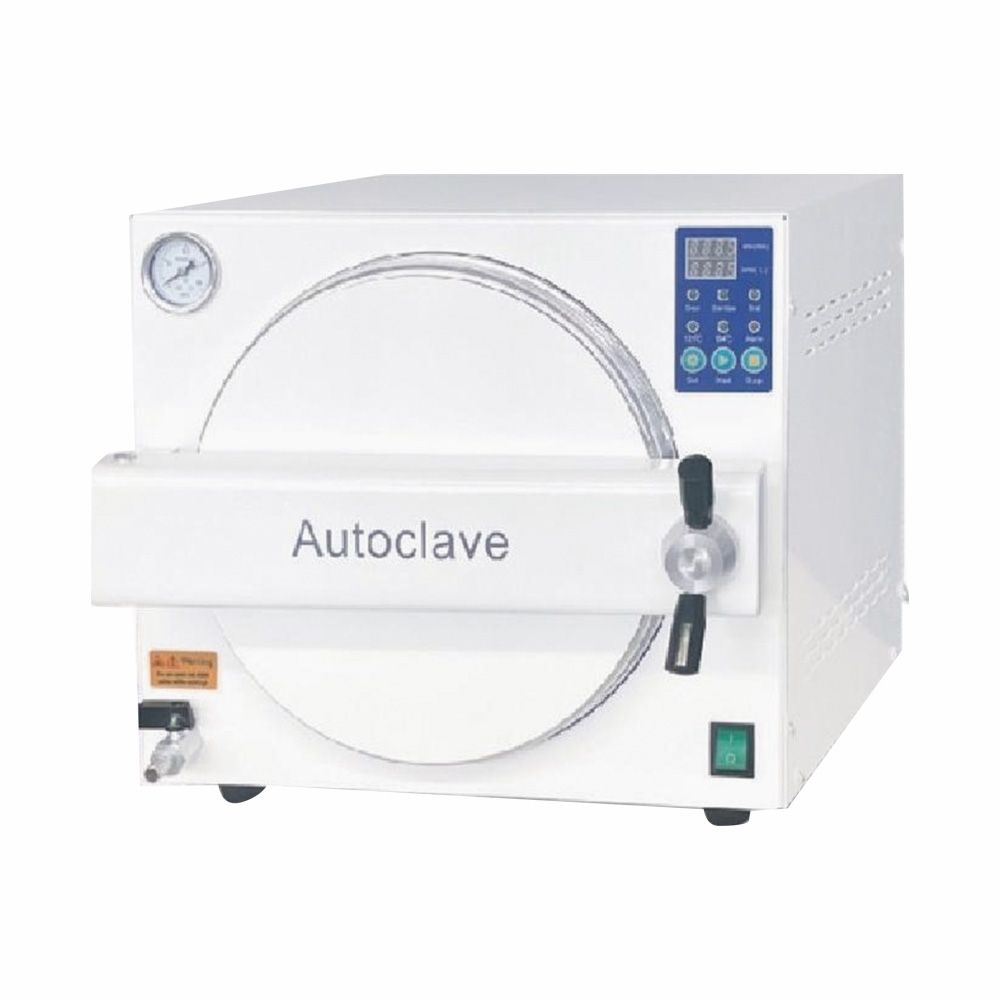
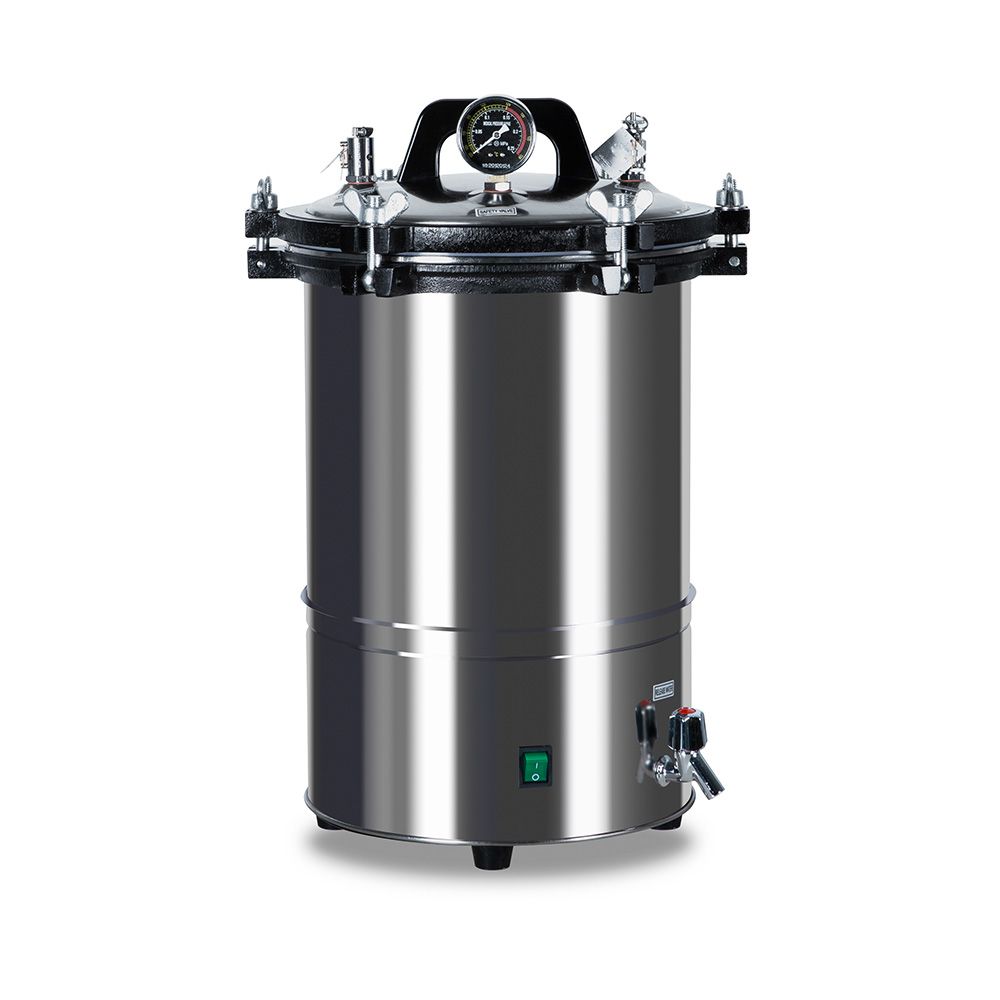
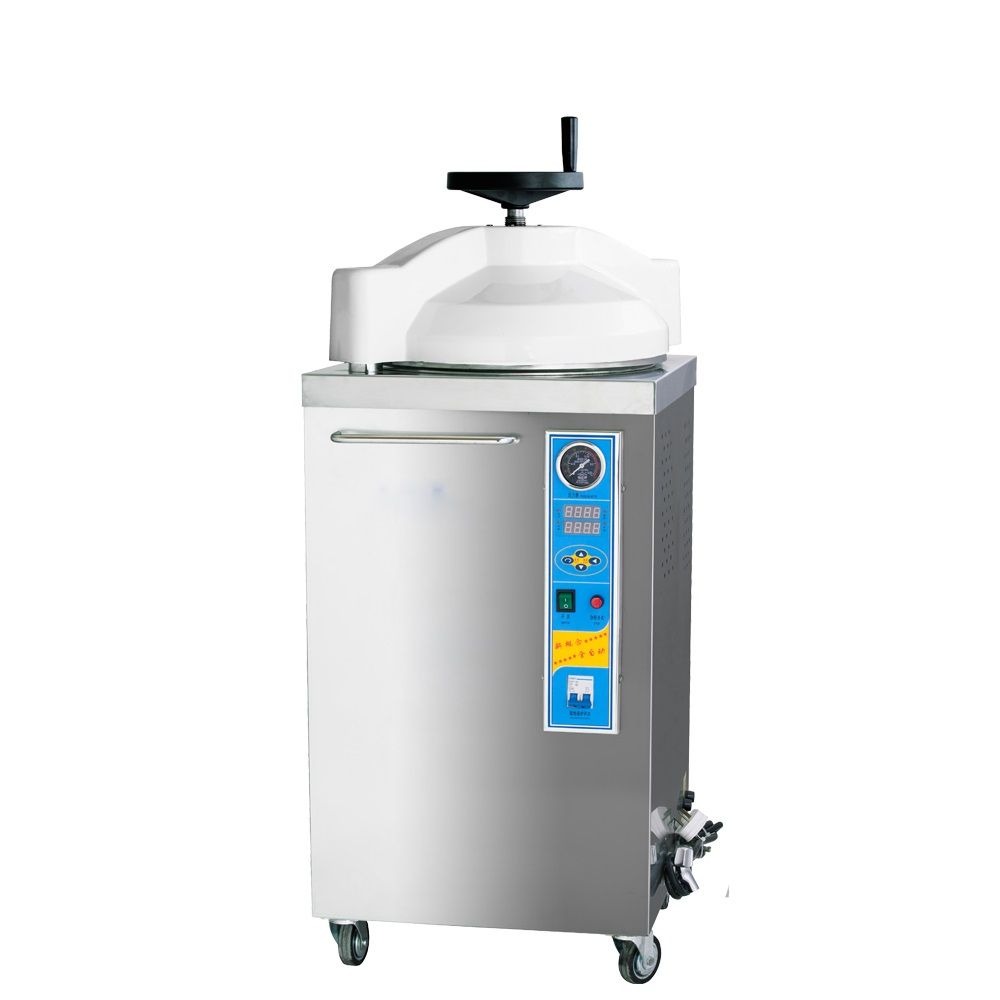
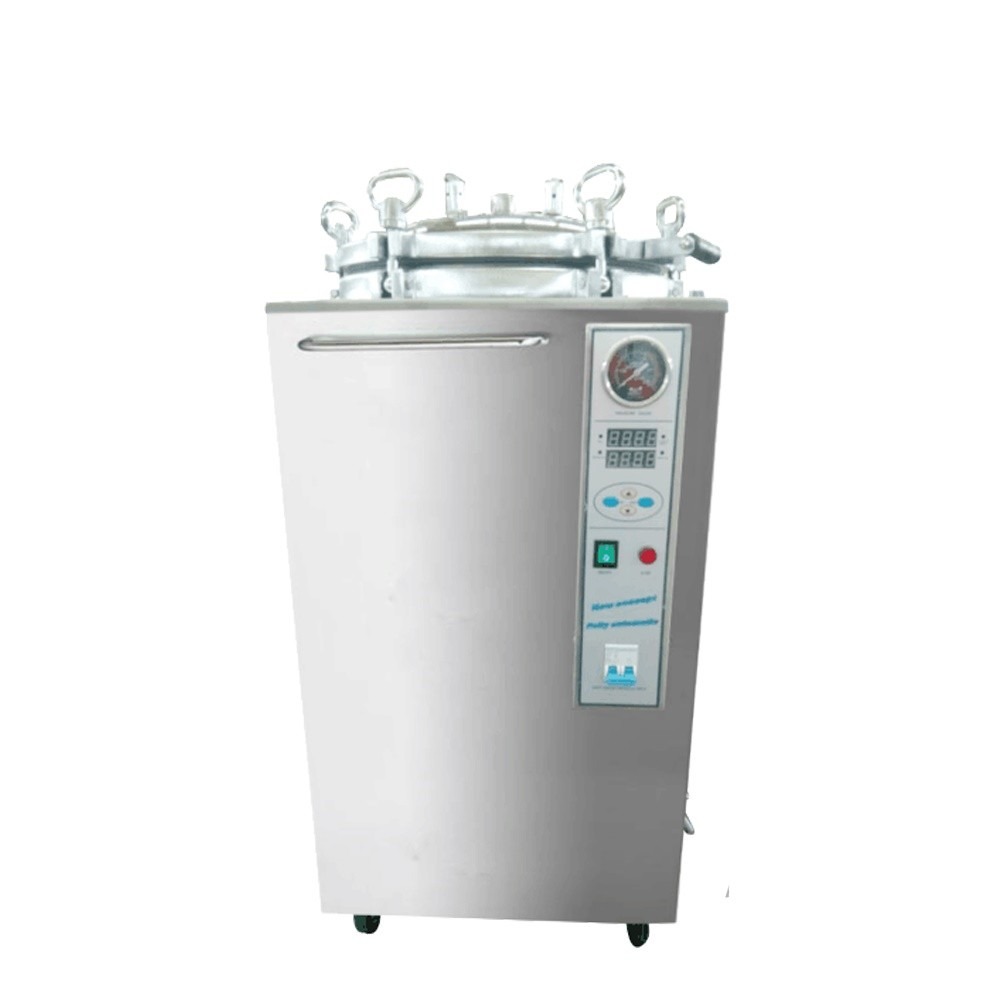
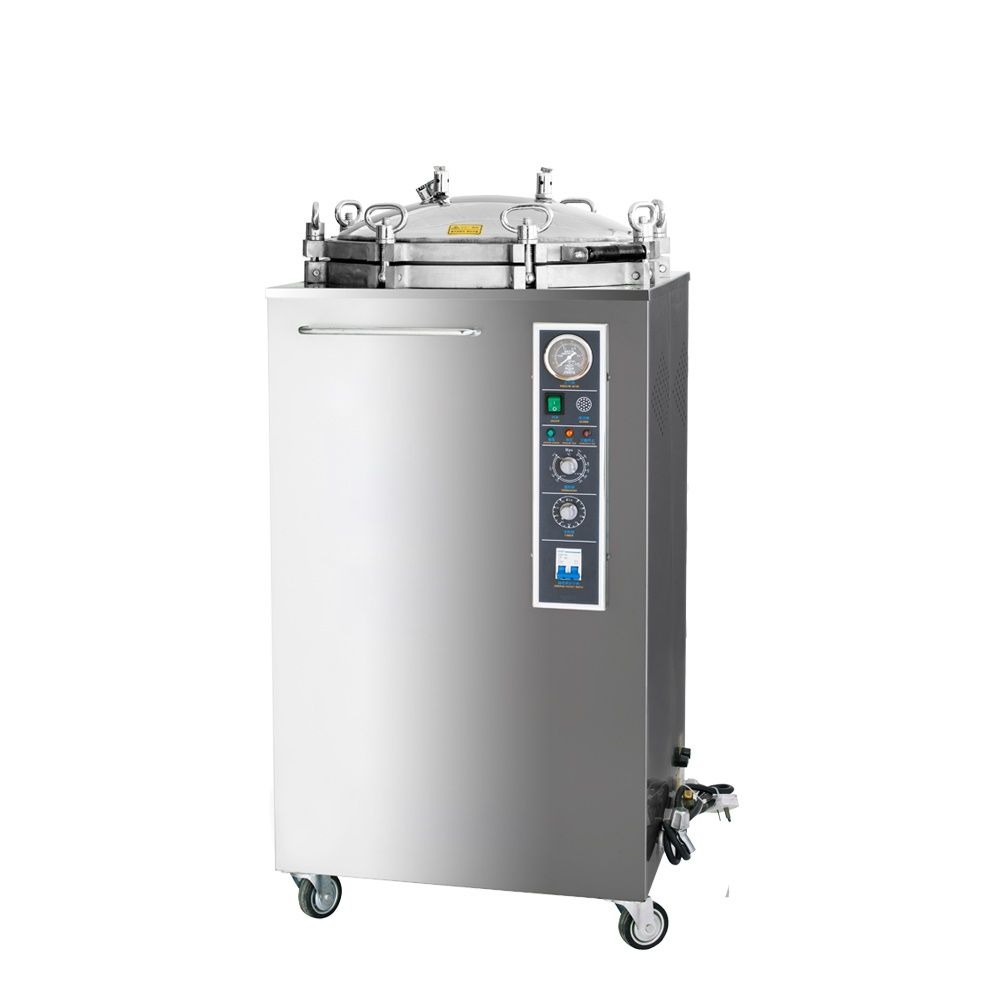
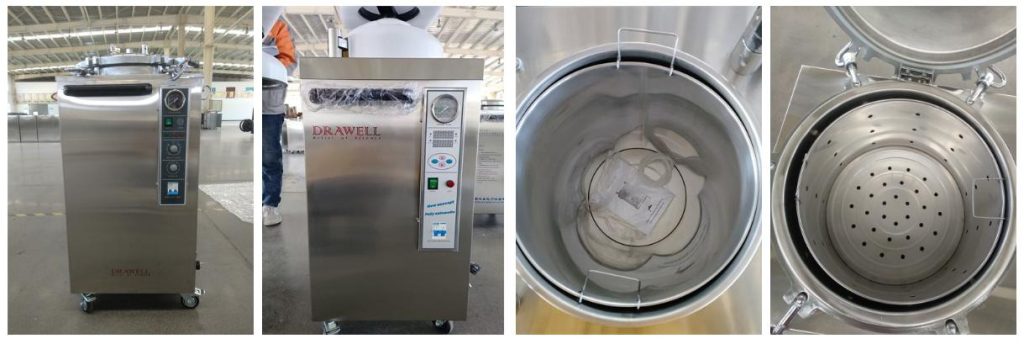
Autoclaving
Autoclaving sterilizes glassware using high-temperature steam under pressure. This method effectively kills microorganisms, including bacterial spores, by raising the boiling point of water through increased pressure. It is one of the most commonly used methods in laboratories due to its efficiency and reliability.
Steps:
- Preparation: Thoroughly clean the glassware with a brush and detergent to remove any dirt or residue. Rinse with clean water and allow it to dry.
- Loading: Arrange the glassware neatly inside the autoclave basket, ensuring enough space for steam to circulate around each item without overcrowding.
- Set Parameters: Depending on the type of glassware and sterilization requirements, set the autoclave to an appropriate temperature (typically 121\u00b0C or 132\u00b0C), pressure (15–20 psi), and time (15–30 minutes).
- Run Sterilization: Start the autoclave. During the process, high-temperature steam fills the chamber, killing all microorganisms.
- Post-Sterilization: Once sterilization is complete, allow the pressure to return to a safe level before opening the autoclave. Remove the glassware only after it has cooled gradually to prevent breakage caused by rapid depressurization.
Dry Heat Sterilization
Dry heat sterilization uses high-temperature air to kill microorganisms by denaturing their proteins and enzymes. This method is ideal for glassware that is heat-resistant but cannot tolerate moisture, such as syringes or pipettes.
Steps:
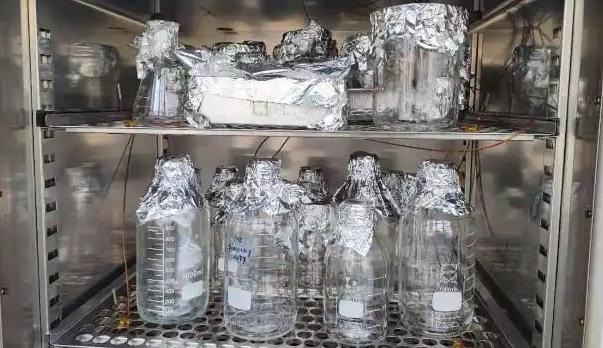
- Cleaning and Drying: Clean the glassware thoroughly and ensure it is completely dry, as moisture can affect the sterilization process.
- Packaging: Wrap the glassware in aluminum foil or place it in specialized sterilization bags to prevent contamination during and after sterilization.
- Loading: Place the wrapped items into the dry heat oven with sufficient space between them for proper air circulation.
- Set Parameters: Set the oven to a temperature of 160–180\u00b0C and sterilize for 1–2 hours, depending on the size and thickness of the glassware.
- Completion: Allow the oven to cool naturally. Once the temperature drops to a safe level, remove the sterilized glassware.
Chemical Sterilization
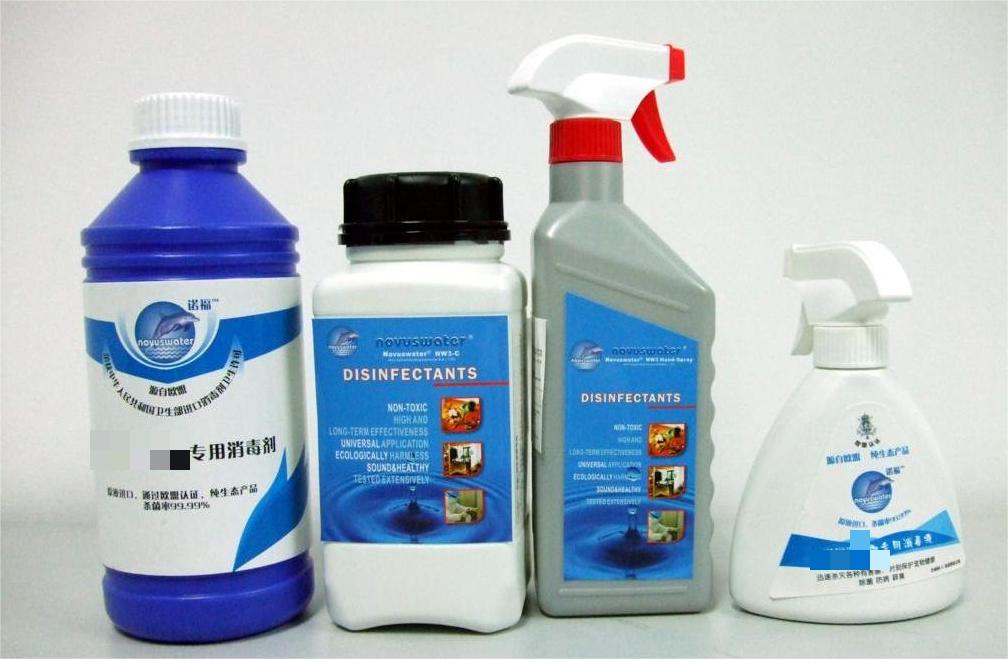
Chemical sterilization uses disinfectants or sterilants to kill or inhibit the growth of microorganisms. It is suitable for glassware that cannot withstand high temperatures or for localized sterilization.
Steps:
- Select Appropriate Chemicals: Choose a sterilant such as ethanol, formaldehyde, or hydrogen peroxide based on the properties of the glassware and experimental needs.
- Preparation: Clean and dry the glassware thoroughly.
- Sterilization Procedure:
- Ethanol: Submerge the glassware in 70–75% ethanol solution for 15–30 minutes, then dry it using sterile air or a sterile paper towel.
- Formaldehyde: Place the glassware in a ventilated cabinet with formaldehyde gas for a designated time (e.g., several hours to a day). Ensure proper ventilation to remove residual formaldehyde after sterilization.
- Hydrogen Peroxide: Apply as a spray or immerse the glassware, allowing sufficient contact time. Rinse thoroughly to remove chemical residues.
UV Sterilization
UV sterilization utilizes ultraviolet light to damage the DNA of microorganisms, preventing their growth and reproduction. This method is convenient and effective for sterilizing small glassware or for surface sterilization.
Steps:
- Preparation: Clean and place the glassware in a UV sterilization chamber or under a UV lamp in a biosafety cabinet.
- Sterilization: Turn on the UV light and expose the glassware for a suitable duration, typically ranging from 30 minutes to several hours. Ensure all surfaces of the glassware are exposed to the UV radiation.
Safety Considerations
Sterilization involves high heat, pressure, or chemicals, all of which require stringent safety measures. Key considerations including:
Personal Protective Equipment (PPE): Always wear appropriate PPE, including gloves, lab coats, and eye protection, when handling glassware and chemicals.
Autoclave Safety:
Follow manufacturer’s instructions for operating the autoclave.
Never overload the autoclave.
Ensure proper venting to prevent explosions.
Be cautious of hot steam when opening the autoclave.
Chemical Safety:
Handle chemicals with care, avoiding contact with skin and eyes.
Use appropriate ventilation when working with chemicals.
Dispose of chemicals properly according to local regulations.
Hot Glassware:
Allow hot glassware to cool down completely before handling.
Use heat-resistant gloves or tongs when handling hot glassware.
Adhering to safety steps minimizes risks and ensures a safe working environment.
Common Mistakes to Avoid
Errors during sterilization can compromise the process and lead to contamination. So please avoid the following mistakes:
- Insufficient cleaning: Inadequate cleaning can leave behind organic matter that can shield microorganisms from sterilization.
- Improper rinsing: Detergent residue can interfere with sterilization and contaminate experiments.
- Overloading the autoclave: Overcrowding can prevent proper steam penetration and result in incomplete sterilization.
- Ignoring drying instructions: Wet glassware can explode in the autoclave.
- Incorrect temperature and time settings: Using incorrect sterilization parameters can lead to incomplete sterilization.
- Improper handling of chemicals: Improper handling of chemicals can pose significant safety hazards.
Sterilization of laboratory glassware is an indispensable part of laboratory operations. Different sterilization methods have their own advantages and disadvantages. It is necessary to choose the appropriate sterilization method according to the characteristics of the glassware, experimental requirements and the actual situation of the laboratory. When performing sterilization operations, strictly follow the operating steps, pay attention to safety precautions and avoid common mistakes to ensure the sterilization effect of glassware, thereby ensuring the accuracy and reliability of the experiment, while protecting the health and safety of the experimenters.