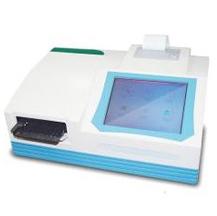
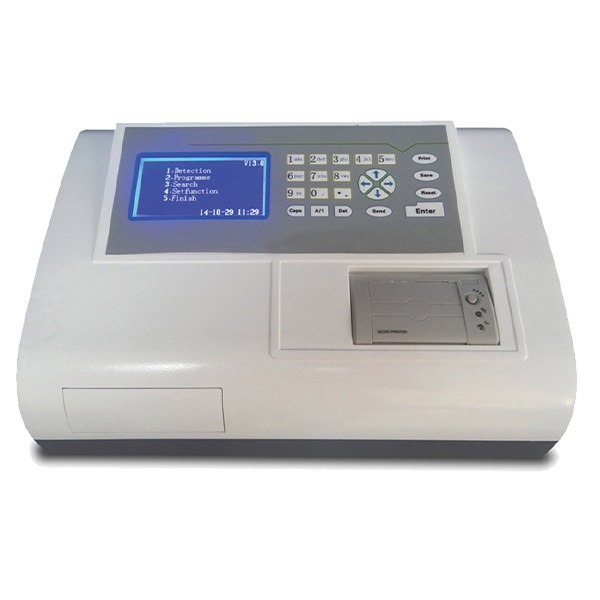
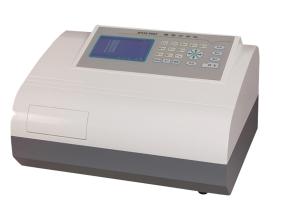
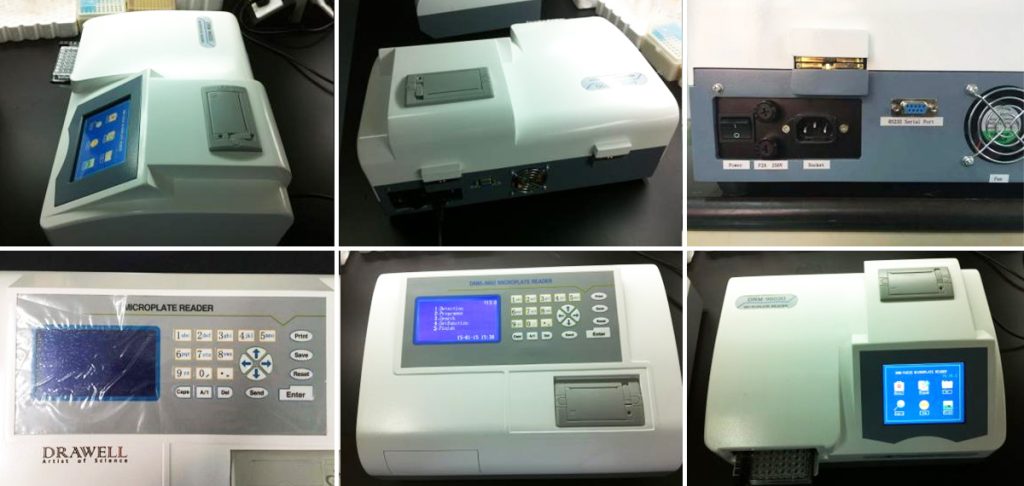
The Enzyme-Linked Immunosorbent Assay (ELISA) microplate reader is a critical instrument in molecular biology and biomedical research. Researchers can use this sophisticated equipment to quantify biological molecules by measuring the intensity of certain reactions. Setting up an ELISA microplate reader is an important step in achieving accurate and consistent findings. In this article, we’ll walk you through the steps of how to set up an ELISA microplate reader, from unpacking the instrument to running your first assay.

Unpacking and Preparing an ELISA Microplate Reader
- Choose the Right Location: To achieve reliable readings, place the ELISA microplate reader in a clean, sturdy, and vibration-free environment.
- Power Connection: Using the included power cord, connect the microplate reader to a power source. Check that the voltage meets the standards.
- Connect to a Computer: Connect your microplate reader to a computer using the proper interface (USB, Ethernet, etc.) if it has data output capabilities.
- Optical Pathway Check: Ensure that the optical channel, where light interacts with samples, is clean and debris-free.

Installing Software for Setting Up an ELISA Microplate Reader
- Install Manufacturer Software: Most ELISA microplate readers include software for controlling and analyzing data. To install the software on your computer, follow the manufacturer’s instructions.
- Calibration: The software may prompt you to calibrate the reader. This ensures that measurement.
Process of Setting Up an ELISA Microplate Reader
- Select the Correct Wavelength: Choose the best wavelength for your experiment. The optical system of the ELISA reader will interact with samples at this wavelength. Input the wavelength of interest into the software interface to ensure precise measurements for your specific test.
- Select Plate Type: Specify the type of microplate you’re using (96-well, 384-well, etc.). This information is required by the software in order to map the correct layout.
- Plate Orientation: Place the microplate in the right orientation on the reader’s microplate holder. For optimum alignment with the optical system, some readers require a precise orientation.
- Background Correction: Before starting the assay, several microplate readers allow you to measure background absorbance. This reduces interference from non-specific signals.

Running an Assay for an ELISA Microplate Reader
- Prepare Samples and Reagents: Prepare samples, standards, and reagents according to your assay procedure.
- Load the Plate: Load the microplate with care, according to your experimental design, with your samples and standards. Ascertain that each well belongs to the correct sample.
- Start the Assay: Select the type of assay you’re doing in the software. Check that you’ve chosen the proper wavelength and measurement parameters.
- Reading the Plate: Place the microplate in the reader and begin measuring. The microplate reader will automatically read the absorbance or fluorescence of each well.
- Data Analysis: When the measurements are finished, the software will output data that you can analyze with statistical or graphical tools.

Maintenance and Cleanup of an ELISA Microplate Reader
- Clean Optics: To maintain accurate readings of an microplate reader, clean the optical components of the microplate reader on a regular basis according to the manufacturer’s instructions.
- Shutdown: Follow the manufacturer’s instructions to properly shut down the ELISA microplate reader.
Summary
Setting up an ELISA microplate reader may appear difficult, but with careful attention to detail and following the manufacturer’s instructions, you can master the procedure. Whether you’re measuring proteins, nucleic acids, or other biomolecules, the ELISA reader will be a vital tool for your research, offering accurate and dependable results. Remember, a well set-up microplate reader is the foundation upon which your experimental success is built.
