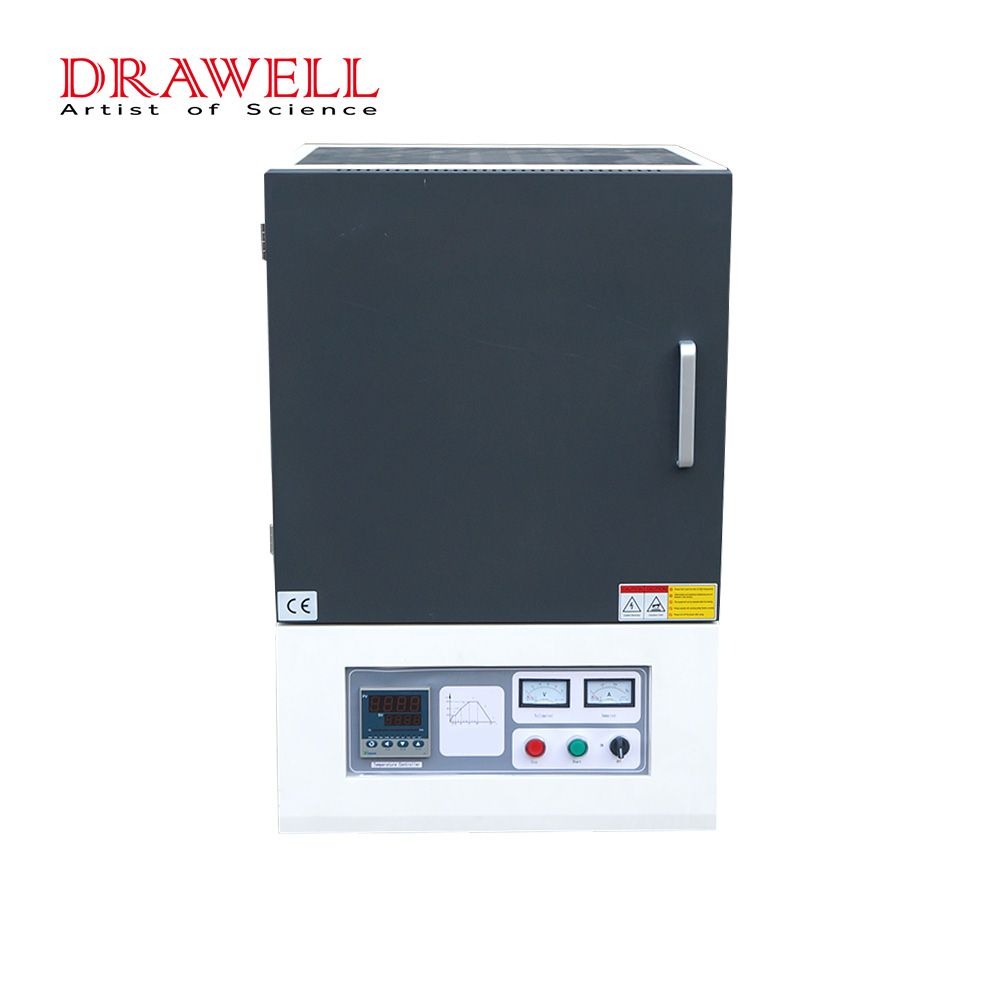
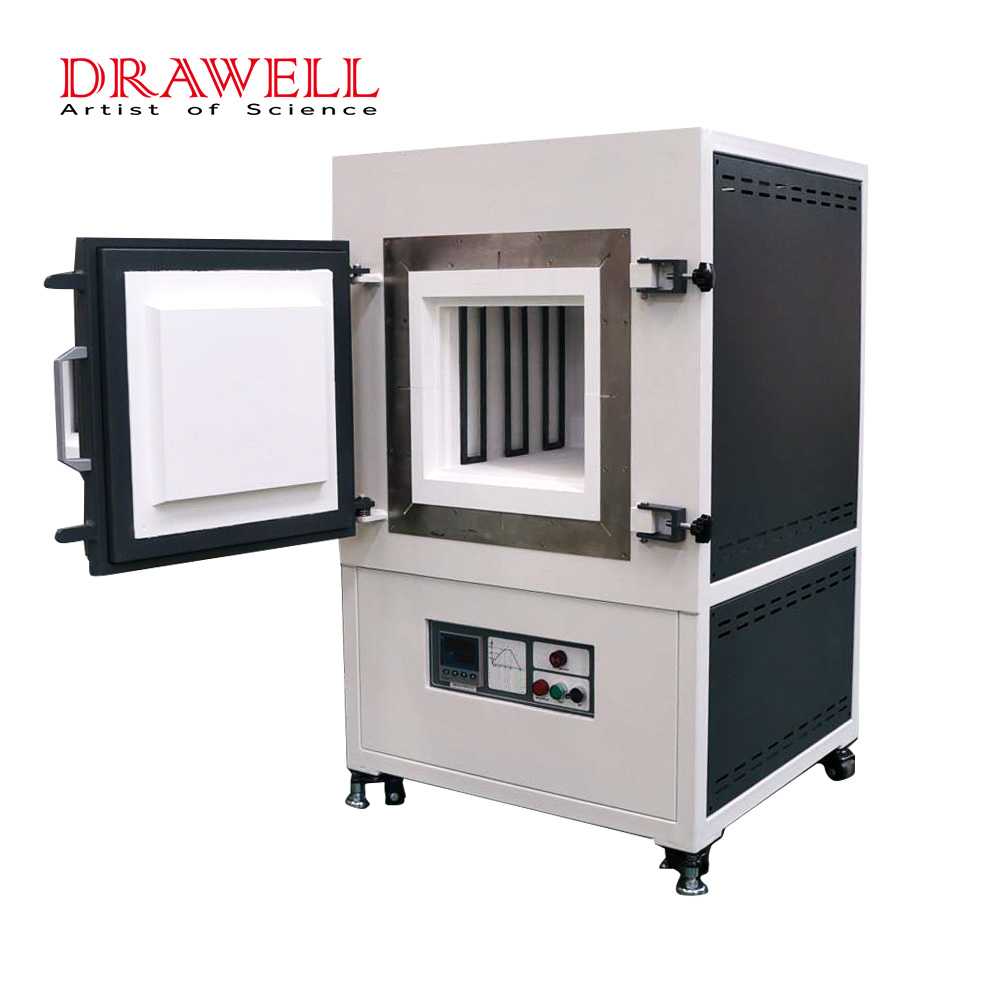
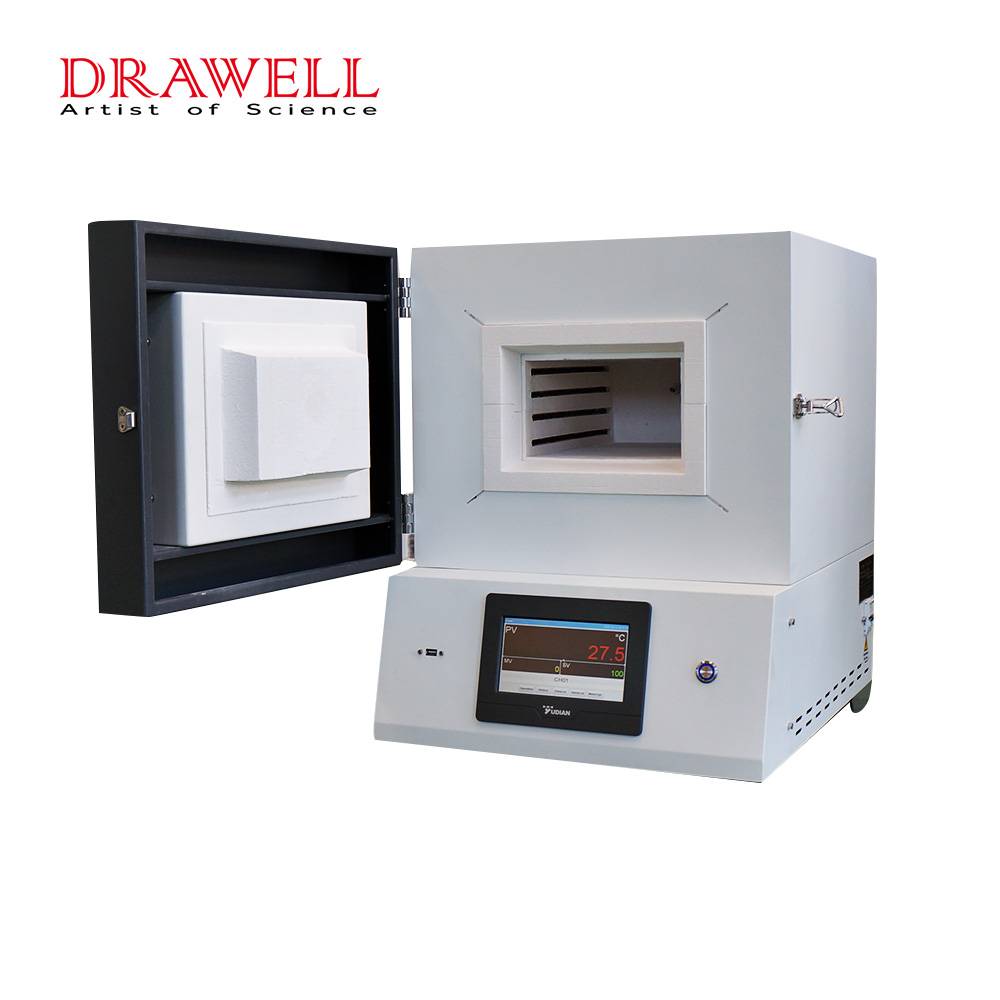
A muffle furnace is a versatile and important equipment used in a variety of scientific and commercial applications, including materials testing, heat treatment, ash determination, and others. One of the most important components of running a muffle furnace is precisely establishing and controlling the temperature. Understanding how to set the temperature in a muffle furnace is critical for attaining accurate and consistent results, whether you’re a seasoned specialist or a newbie to this equipment. This article will walk you through the process of setting the temperature in a muffle furnace step by step to ensure optimal performance and precise thermal treatment.
Step 1: Preliminary Preparations for Setting Temperature in Muffle Furnace
Before you begin setting the temperature, make sure the muffle furnace is turned on and linked to a reliable power supply.
Step 2: Choosing the Temperature Setpoint for Muffle Furnace
The temperature setpoint denotes the temperature at which the muffle furnace will be adjusted and maintained throughout the operation. This parameter is inextricably related to the application or process you are working on. Choosing the right setpoint is the foundation of any successful experiment or task since it has a direct impact on the material’s behavior, reactions, and desired consequences.
Determine the temperature that is required for your application. To determine the optimum temperature range, consult your experimental or processing requirements. Depending on the style and design, muffle furnaces often have adjustable temperature ranges that can range from room temperature to several hundred degrees Celsius.
Step 3: Turning On the Muffle Furnace
Locate the power switch on the muffle furnace and turn it on. The furnace will begin its startup process, which will include the activation of the heating elements and the control system. The temperature display may indicate the current ambient temperature during this phase.
Step 4: Accessing the Control Panel of Muffle Furnace
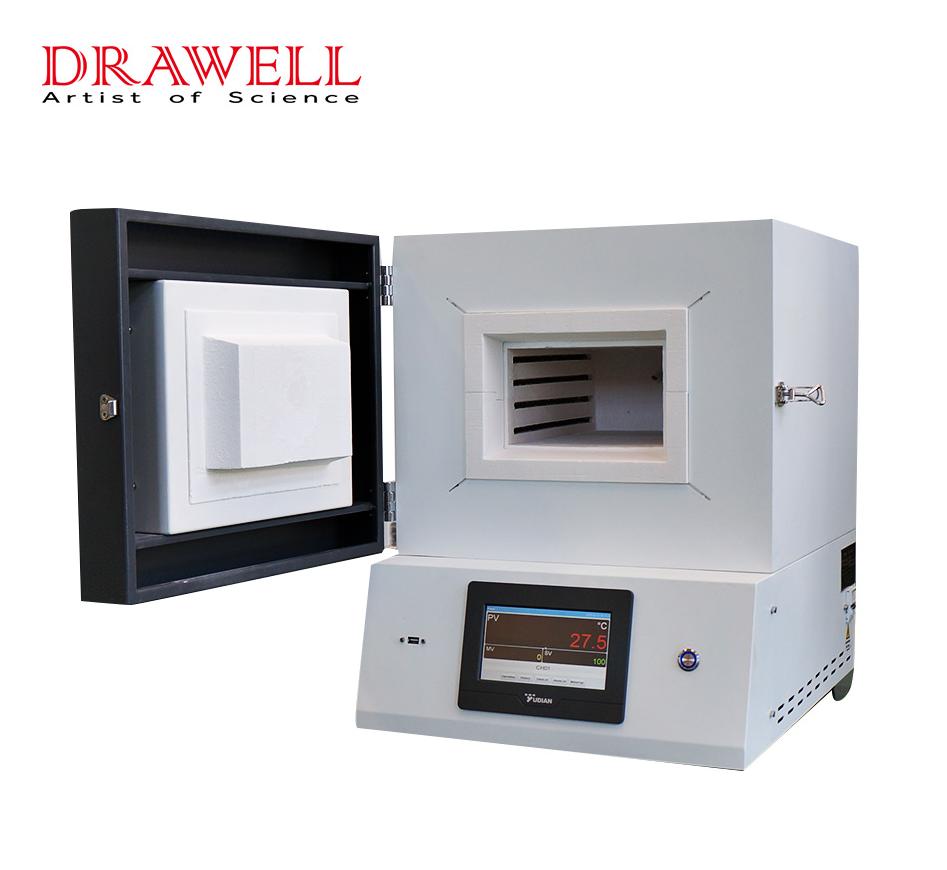
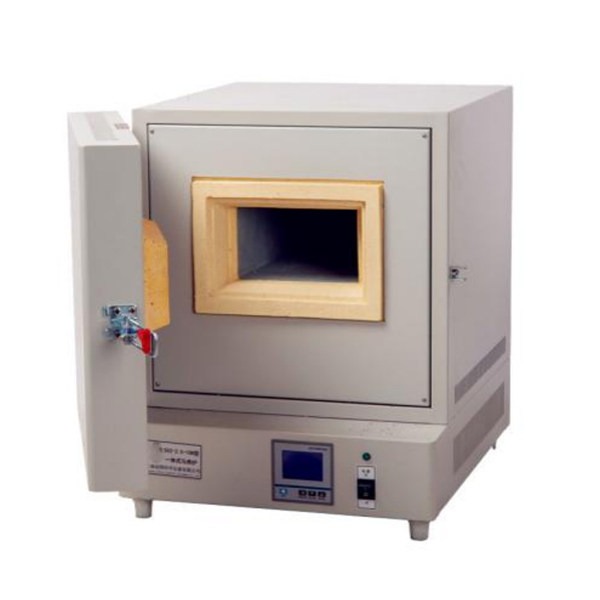
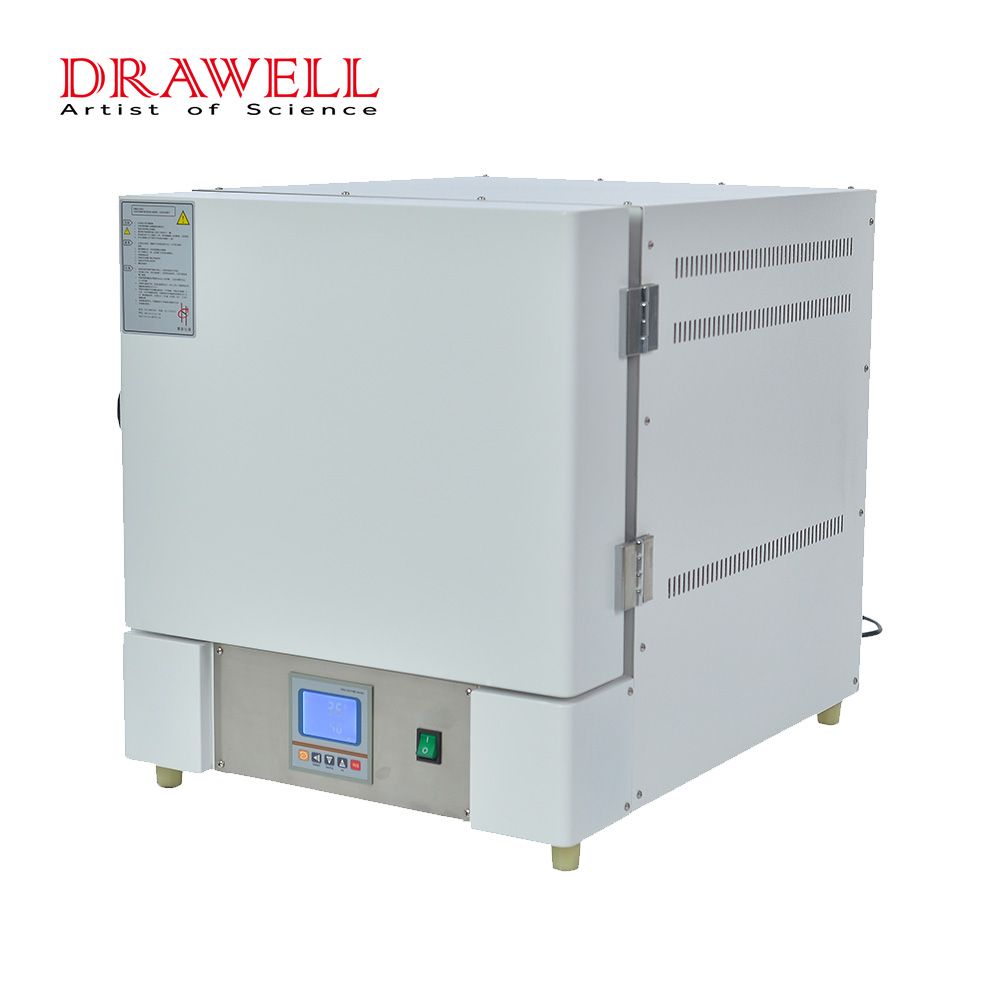
The majority of muffle furnaces have a digital control panel that allows you to adjust and monitor the temperature. The control panel should be located on the front or top of the furnace. A digital display, temperature adjustment buttons, and other pertinent controls may be included on the panel.
Step 5: Setting the Temperature of the Muffle Furnace
1. Access the Temperature Setting Mode
To enter the temperature setting mode, press the “Temperature Set” or equivalent button on the control panel. The display should now reflect that you are adjusting the temperature setpoint.
2. Adjust the Temperature
To decrease the temperature setpoint to the appropriate setting, use the designated temperature adjustment buttons. Some high temperature muffle furnaces may have single-degree increments, whilst others may have bigger steps. To correctly obtain the appropriate temperature, be careful and exact when making adjustments.
3. Confirm and Exit
Once you’ve decided on a temperature, press the “Enter” or “Set” button to confirm your choice. The temperature you set as the new setpoint should now be displayed on the control panel.
Step 6: Temperature Ramp-Up After Setting the Temperature of Muffle Furnace
Following the temperature setting, the muffle furnace will begin to heat up to the chosen setpoint. This process may take some time depending on the architecture of the furnace and the temperature range.
Step 7: Monitoring and Fine-Tuning of Muffle Furnace
Keep an eye on the digital display while the furnace heats up. The current temperature within the furnace chamber will be displayed. Consider adding an external temperature monitoring device, such as a thermocouple, to cross-reference the accuracy of the furnace’s built-in temperature sensor if your application requires precise temperature control.
Step 8: Reaching and Maintaining the Setpoint of Muffle Furnace
When the muffle furnace achieves the correct temperature, it will automatically control its heating components to keep it within a particular tolerance range. The furnace should now be working at the setpoint temperature, according to the control panel display.
Step 9: Cooling Down and Shutdown of Muffle Furnace
It’s time to cool down the furnace when you’ve finished your thermal therapy or experiment. Reduce the temperature setpoint gradually, or just turn off the furnace and allow it to cool naturally. To avoid heat shock or damage to the furnace chamber, always emphasize safety during cooling down.
Summary
To maintain accuracy and reliability, setting the temperature in a muffle furnace requires a systematic methodology. By following these step-by-step instructions, you can successfully set, monitor, and manage the temperature of muffle furnaces to meet the needs of your application. Remember that muffle furnaces differ in design and control features, so it’s critical to become acquainted with the individual model’s user manual and directions for best results. Whether conducting scientific experiments, performing materials testing, or carrying out heat treatment processes, mastering the art of setting the temperature in a muffle furnace empowers you to achieve consistent and dependable outcomes.

