Centrifuges are essential tools in many laboratories, used for separating components of a mixture based on density. Among these, low speed centrifuges are commonly used for tasks such as cell culture separation and blood sample processing. However, operating a centrifuge, even at low speeds, requires strict adherence to safety protocols to prevent accidents and ensure accurate results. This article will guide you through the necessary steps to operate a low speed centrifuge safely.
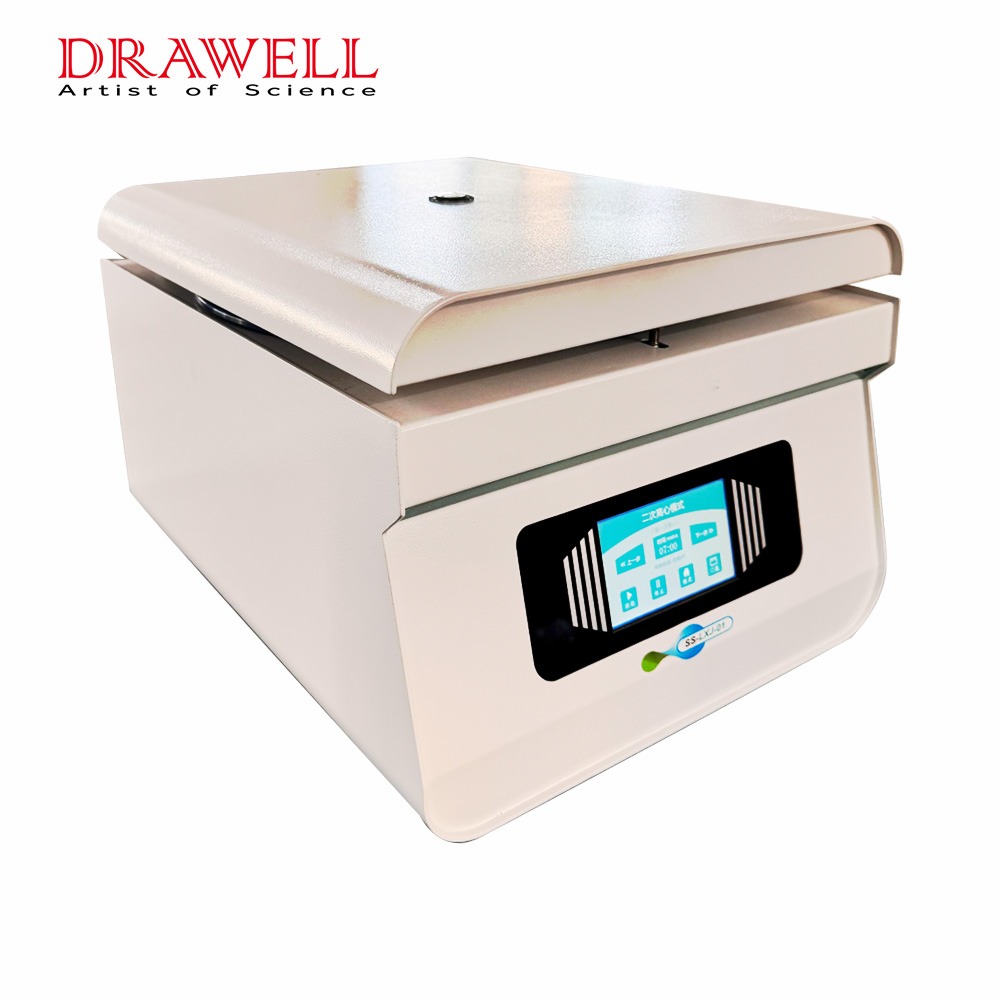
Understanding Low Speed Centrifuges
Low-speed centrifuges typically operate at speeds ranging from 300 to 6,000 revolutions per minute (RPM). These centrifuges are commonly used for tasks that do not require high centrifugal force, such as separating cells, blood components, or other large particles.
Key Components and Their Functions
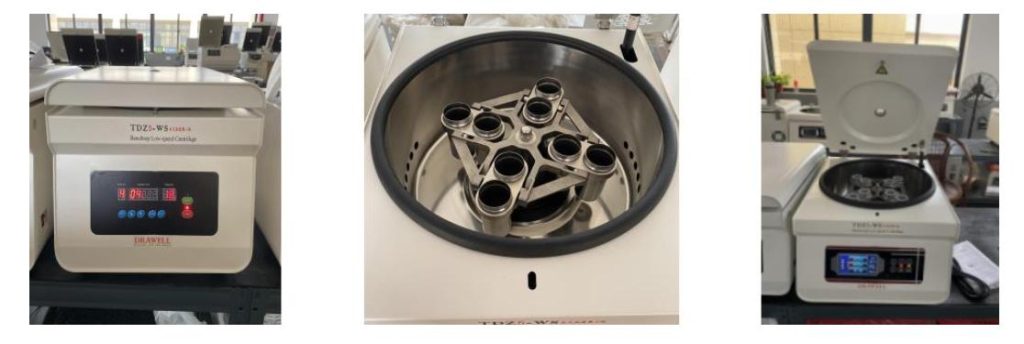
Rotor: The part that holds the sample tubes and spins them. There are various types of rotors, including fixed-angle and swinging-bucket rotors, each suited for different types of separations.
Motor: Powers the spinning of the rotor, enabling the centrifugal force needed for separation.
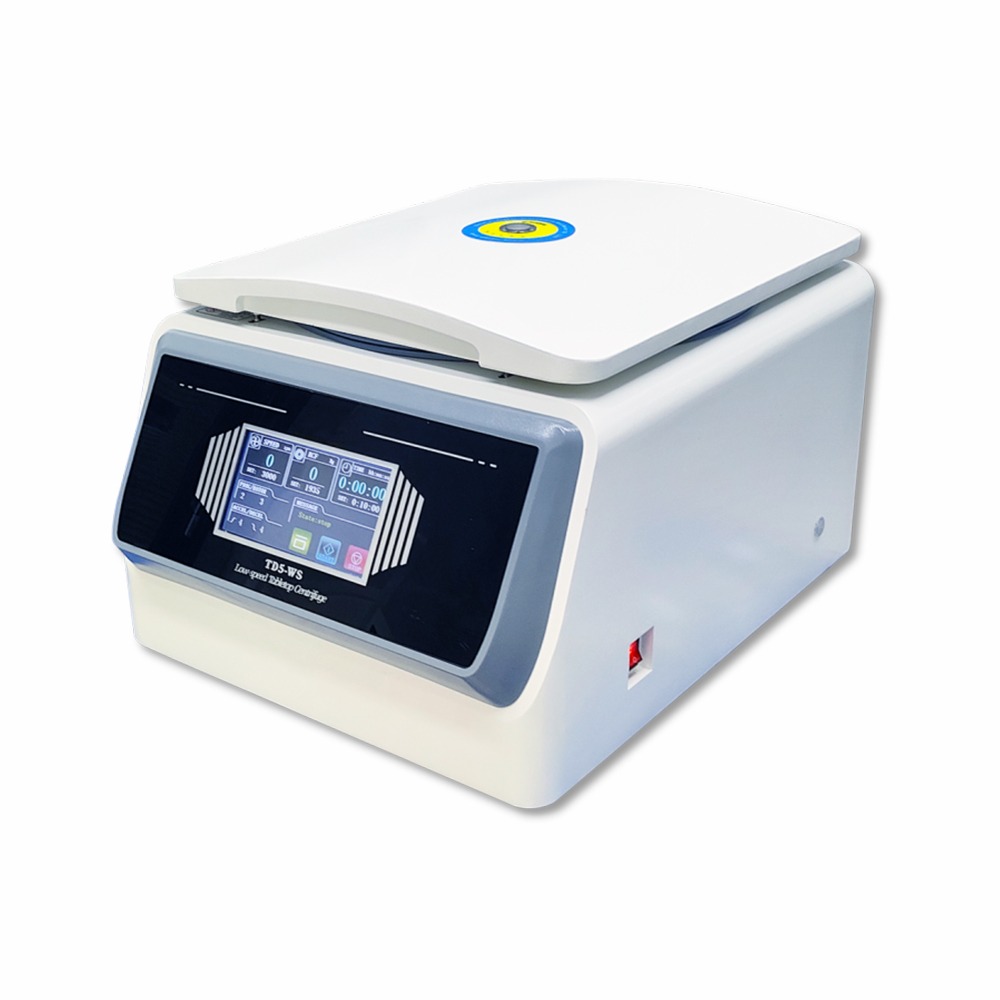
Control Panel: Allows users to set and adjust the speed, time, and sometimes temperature of the centrifuge.
Lid: Ensures the samples are contained securely and reduces the risk of exposure to hazardous materials.
Safety Lock: Prevents the centrifuge from operating if the lid is not properly secured, enhancing user safety.
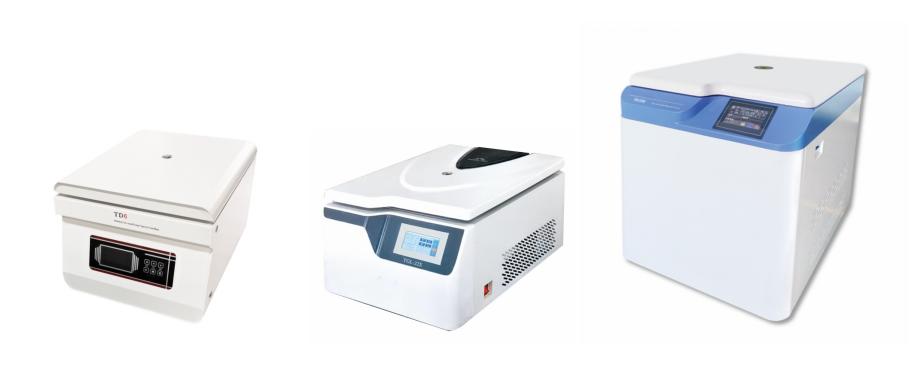
Common Types of Low Speed Centrifuges
Benchtop Low Speed Centrifuges: Compact units designed for use on laboratory benches, ideal for routine low-speed centrifugation tasks.
Floor-Standing Low Speed Centrifuges: Larger units that can handle greater volumes and more samples, suitable for high-throughput laboratories.
Low Speed Refrigerated Centrifuges: Equipped with cooling systems to maintain sample integrity during extended runs or when working with temperature-sensitive samples.
Clinical Centrifuges: Specifically designed for use in medical labs, often optimized for blood and urine sample processing.
Understanding these aspects of low speed centrifuges is crucial for their safe and effective operation in various laboratory settings.
How to Operate a Low Speed Centrifuge Safely?
Operating a low speed centrifuge safely involves several steps to ensure both user safety and the integrity of the samples. Here’s a comprehensive guide:
Preparation Before Use
1. Read the Manual:
Familiarize yourself with the manufacturer’s instructions and safety guidelines specific to your centrifuge model.
2. Inspect the Centrifuge:
Check the rotor and buckets for any signs of wear, corrosion, or damage.
Ensure all parts are clean and free of debris.
3. Balance the Samples:
Ensure all samples are balanced by weight. Use a balance scale to match the weights of opposite tubes.
Use identical tubes and fill them to the same level with liquid or add a counterbalance if needed.
4. Select Appropriate Tubes:
Use centrifuge tubes recommended for the speed and type of centrifugation you are performing.
Check that the tubes are not cracked or damaged.
5. Set the Centrifuge on a Stable Surface:
Place the centrifuge on a flat, stable, and level surface to avoid vibrations or tipping.
6. Wear Protective Gear:
Use lab coat, gloves, and safety goggles to protect against potential spills or breakages.

Operating the Centrifuge
1. Load the Rotor:
Carefully place the balanced tubes into the rotor or buckets.
Ensure the lids or caps of the tubes are securely closed.
2. Close the Lid:
Secure the centrifuge lid. Many models have a safety interlock system that prevents operation if the lid is not properly closed.
3. Set Speed and Time:
Program the centrifuge for the desired speed (rpm) and duration according to your protocol and the limitations of your tubes.
Avoid exceeding the maximum speed rating for the tubes or the rotor.
4. Start the Centrifuge:
Press the start button and monitor the centrifuge for a few moments to ensure it runs smoothly without unusual noises or vibrations.
5. Monitor the Process:
Stay nearby while the centrifuge is running. If you must leave, ensure someone else can monitor it.
Be prepared to stop the centrifuge immediately if there are any signs of malfunction.
After Centrifugation
1. Wait for Complete Stop:
Do not open the lid until the rotor has come to a complete stop. Many centrifuges have a braking mechanism; let it work rather than opening the lid prematurely.
2. Open the Lid Cautiously:
Carefully open the lid to avoid any aerosolized particles or potential spills.
3. Remove Samples Carefully:
Take out the samples gently to avoid re-suspending any pellets.
If there are any spills, clean them immediately with appropriate disinfectant or cleaning agent.
4. Inspect Tubes and Rotor:
Check the tubes for cracks or leaks.
Inspect the rotor for any signs of damage or residue that need cleaning.
5. Clean the Centrifuge:
Wipe down the interior of the centrifuge with a mild detergent or cleaning solution recommended by the manufacturer.
Ensure the rotor and buckets are clean and dry before storing them.
6. Document Any Issues:
Record any malfunctions or incidents in the equipment log.
Schedule maintenance if necessary and report any damage to the appropriate personnel.
7. Store Properly:
Close the centrifuge lid to prevent dust accumulation.
Store centrifuge tubes and accessories in a clean, dry place.
By following these detailed steps, you ensure the safe and effective use of a low-speed centrifuge, minimizing the risk of accidents and equipment damage.

Troubleshooting Common Issues When Operating Low Speed Centrifuge
Operating a low speed centrifuge can sometimes encounter issues. Here are some common problems and how to troubleshoot them:
1. Excessive Vibration
Causes:
- Unbalanced load.
- Rotor not seated properly.
- Damaged rotor or tubes.
Solutions:
- Unbalanced Load: Ensure that samples are evenly distributed in the rotor. Place tubes of equal weight opposite each other.
- Rotor Seating: Stop the centrifuge, open the lid, and check that the rotor is properly seated on the spindle. Re-seat the rotor if necessary.
- Damage Inspection: Inspect the rotor and tubes for any visible damage. Replace any damaged components.
2. Unusual Noises
Causes:
- Rotor imbalance.
- Foreign objects in the chamber.
- Mechanical issues with the motor or rotor.
Solutions:
- Rotor Imbalance: Check for balanced tube placement. Rebalance if necessary.
- Foreign Objects: Turn off the centrifuge and inspect the chamber for any debris or foreign objects. Remove any obstructions.
- Mechanical Issues: If noises persist, it may indicate a problem with the motor or rotor bearings. Contact the manufacturer or a qualified technician for a detailed inspection and repair.
3. Failure to Start
Causes:
- Power supply issues.
- Safety lid lock not engaged.
- Faulty control panel.
Solutions:
- Power Supply: Check that the centrifuge is plugged in and that the power outlet is functioning. Ensure that the power switch is turned on.
- Safety Lid Lock: Ensure the centrifuge lid is closed and the safety lock is engaged. Some models will not start unless the lid is securely closed.
- Control Panel: Verify the settings on the control panel. If the control panel seems unresponsive, try resetting the centrifuge according to the manufacturer’s instructions. If the problem persists, seek professional assistance.
4. Inconsistent Results
Causes:
- Incorrect speed or time settings.
- Sample preparation errors.
- Rotor type mismatch.
Solutions:
- Speed and Time Settings: Double-check the centrifuge settings to ensure they match the requirements for your specific application. Adjust as necessary.
- Sample Preparation: Ensure that samples are prepared and loaded correctly. Check for proper sealing of tubes and avoid overfilling.
- Rotor Type: Verify that the rotor being used is appropriate for your samples and the desired separation. Consult the centrifuge’s manual for guidance.
5. Temperature Issues (for Refrigerated Centrifuges)
Causes:
- Malfunctioning cooling system.
- Inadequate ventilation.
Solutions:
- Cooling System: Check the temperature settings and ensure they are correct. If the centrifuge is not maintaining the desired temperature, the cooling system may need servicing.
- Ventilation: Ensure the centrifuge has adequate space around it for ventilation. Overheating can occur if the machine is placed too close to walls or other equipment.
6. Lid Lock Issues
Causes:
- Debris in the locking mechanism.
- Mechanical failure of the lock.
Solutions:
- Debris: Inspect the lid lock mechanism for any debris or obstructions. Clean the area carefully to ensure smooth operation.
- Mechanical Failure: If the lock mechanism is damaged or not functioning, contact the manufacturer or a technician for repair or replacement.
By addressing these common issues through careful troubleshooting, you can ensure the safe and effective operation of your low speed centrifuge, maintaining both the integrity of your samples and the safety of laboratory personnel.
Conclusion
Operating a low speed centrifuge safely requires attention to detail and adherence to safety protocols. By following the outlined steps for pre-operation, operation, and post-operation, you can ensure safe and efficient use of the centrifuge. Regular maintenance and proper troubleshooting are also crucial for the longevity and reliability of the equipment. At the same time, please choosing a reliable low speed centrifuge supplier, the quality equipments can reduce and even avoid safety incidents. Prioritizing safety not only protects you and your colleagues but also ensures the accuracy and integrity of your laboratory results.