Deionized water (DI water) is a highly purified form of water that has had most of its mineral ions removed. It is widely used in laboratories due to its purity and low conductivity, making it ideal for various scientific experiments and procedures. This article will guide you through the process of making deionized water in a laboratory setting, covering the equipment used, the process involved, and tips for maintaining a deionized water system.
What is Deionized Water?
Deionized water is water that has been purified by removing its ion content, which includes both cations (positively charged ions like calcium, sodium, and potassium) and anions (negatively charged ions like chloride, sulfate, and carbonate). The result is water that lacks the typical dissolved salts and minerals found in tap or natural water sources. This is achieved through a process called ion exchange, which involves passing the water through a bed of specialized resins.
Key Benefits of Using DI Water in Labs
- Purity: Deionized water ensures minimal interference in sensitive experiments by removing charged impurities that could affect chemical reactions.
- Versatility: It is widely used in biological, chemical, and physical experiments, as well as in cleaning laboratory equipment to prevent contamination.
- Safety: By removing ions, DI water reduces the risk of unwanted reactions in various processes, making it ideal for precise applications like chromatography and spectrophotometry.
Making Deionized Water: A Step-by-Step Guide
Step 1: Preparation and Setup
Before starting, it’s essential to prepare the necessary equipment and ensure the setup is correct for producing deionized water.
Equipment Needed:
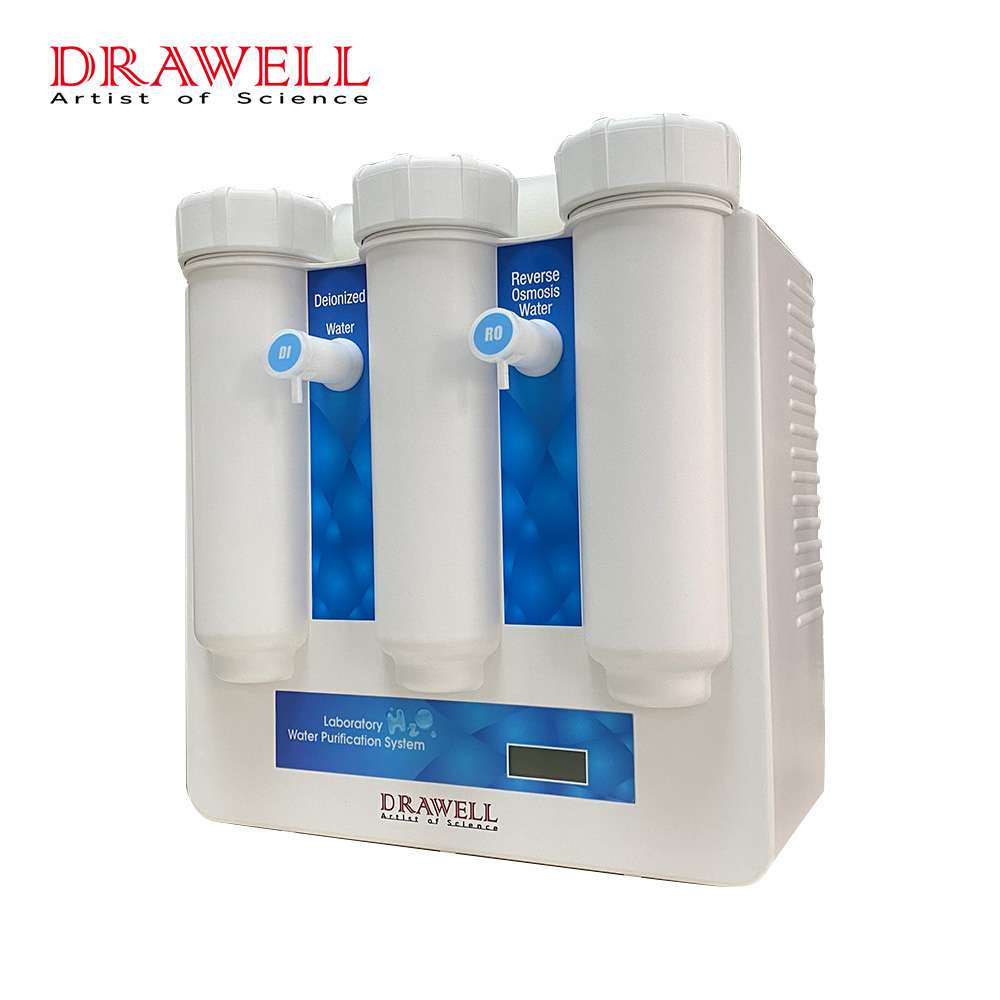
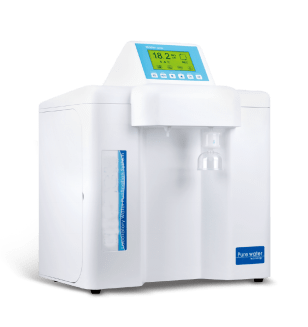
- Deionization Units: These devices house ion-exchange resins that remove ions from the water. The resin exchanges hydrogen and hydroxyl ions with the water’s cations and anions, effectively “cleaning” it.
- Reverse Osmosis (RO) Systems: Often used in conjunction with deionization units, reverse osmosis systems pre-treat the water by removing larger contaminants before the deionization process.
- Water Softener: This can be used to remove minerals, especially if the incoming water source is hard, preventing scale buildup that can degrade DI systems.
- Storage Tanks: Since deionized water must be kept pure, storage tanks are often equipped with airtight seals to prevent contamination.
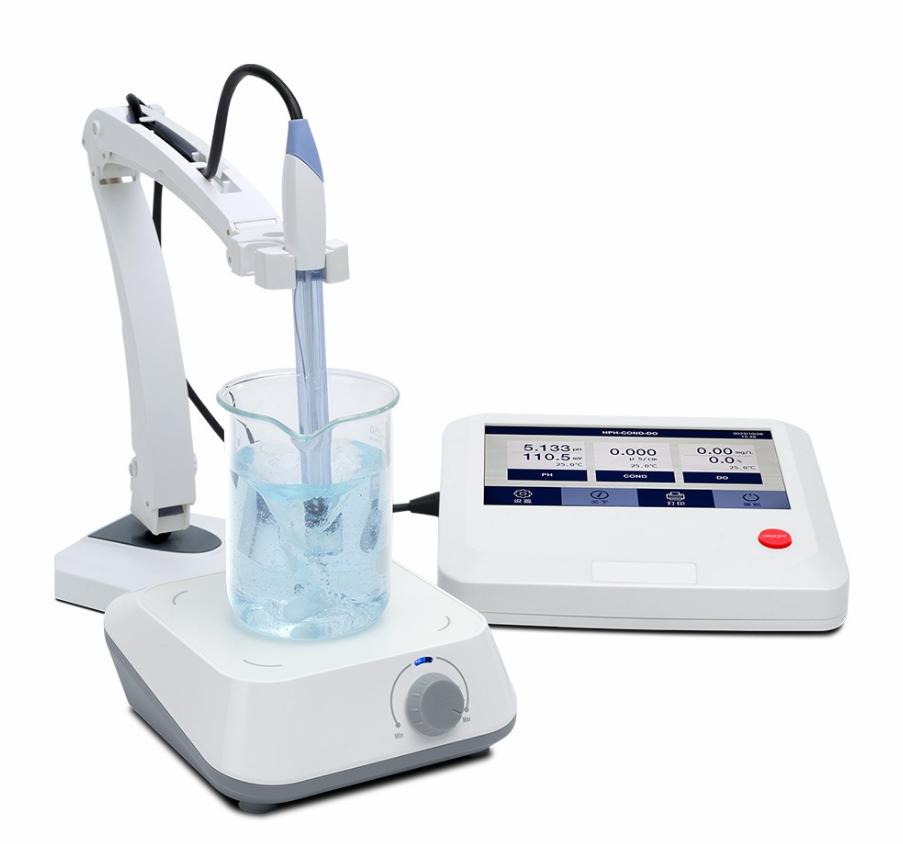
- Conductivity Meters: These are used to measure the purity of the water by checking its electrical conductivity, ensuring that the deionization process is working correctly.
Preparation Checklist:
- Ensure all filters (sediment and carbon) and the deionization unit are clean and in working order.
- Confirm that the water supply is connected properly to the system.
- Check that the conductivity meter is calibrated and operational.
Step 2: Pre-filtration
Before the water reaches the deionization unit, it needs to go through pre-filtration to remove larger contaminants. Removing sediment prevents clogging and extends the lifespan of the deionization resin.
- Sediment Filtration: Water passes through a sediment filter to remove any visible particles like dirt, rust, or silt.
- Carbon Filtration: Next, the water passes through an activated carbon filter. This step absorbs chlorine, organic compounds, and other chemicals that could damage the ion-exchange resin.
Step 3: Optional Reverse Osmosis (RO) Stage
If your system includes a reverse osmosis unit, water will go through an additional filtration step:
- RO Filtration: The water is forced through a semi-permeable membrane.
This removes up to 99% of dissolved salts, bacteria, and other contaminants, reducing the load on the deionization system and enhancing the overall purity of the water.
Step 4: Deionization Process
This is the core step where water undergoes the deionization process, which removes the charged particles (ions) from the water, resulting in high-purity deionized water:
- Ion Exchange: The pre-filtered water enters the deionization unit containing ion-exchange resins. These resins are made up of beads that exchange cations (e.g., calcium, magnesium) and anions (e.g., chloride, sulfate) in the water with hydrogen (H⁺) and hydroxide (OH⁻) ions, respectively.
- Mixed-Bed Resin (Optional for higher purity): In some systems, water may pass through a mixed-bed resin for additional ion removal, providing ultra-pure water.
Step 5: Monitor Water Purity
It’s crucial to monitor the purity of the water continuously during the deionization process:
- Conductivity or Resistivity Meter: As the water exits the deionization unit, use a conductivity or resistivity meter to measure its purity.
Pure water has very low conductivity (high resistivity), indicating that most ions have been removed. The goal is typically 0.1 µS/cm or lower for laboratory applications, indicating high-quality deionized water.
Step 6: Collection and Storage
Once the water has passed through the deionization system and meets the desired purity levels, it can be collected and stored for future use.
- Collection: Use an airtight storage tank to collect the deionized water as it exits the system.
Airtight tanks prevent the water from being contaminated by dust, particles, or CO₂ from the air, which could reduce its purity.
Proper storage ensures the water remains pure for future laboratory applications.
- Storage Conditions: Store the water in a cool, clean environment to avoid bacterial growth or contamination.
Step 7: System Maintenance and Finishing
After producing deionized water, it’s essential to perform regular maintenance to keep the system running efficiently.
- Resin Regeneration: Over time, the ion-exchange resin will become saturated with ions. It must be regenerated with a strong acid (for cations) or base (for anions) to restore its ion-exchanging capabilities. Regular regeneration ensures the resin continues to remove ions effectively, maintaining water purity.
- Filter Replacement: Replace sediment and carbon filters periodically, depending on usage and water quality. Clean filters ensure optimal performance and extend the lifespan of the deionization unit.
- System Cleaning: Disinfect the storage tank and other components to prevent bacterial growth, especially if water sits idle in the system.
By following this step-by-step guide, you can produce high-purity deionized water in your laboratory. Proper preparation, filtration, monitoring, and maintenance ensure that your DI water system delivers reliable, high-quality water for sensitive experiments and equipment cleaning. With careful handling and routine care, the deionization process can provide consistent, pure water tailored to laboratory needs.