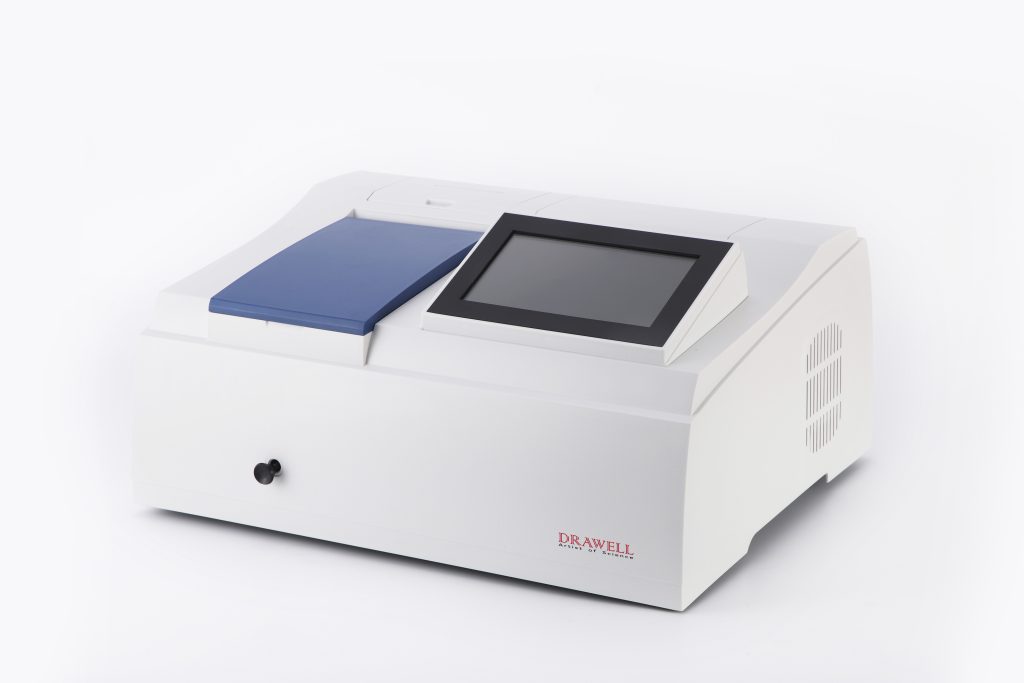
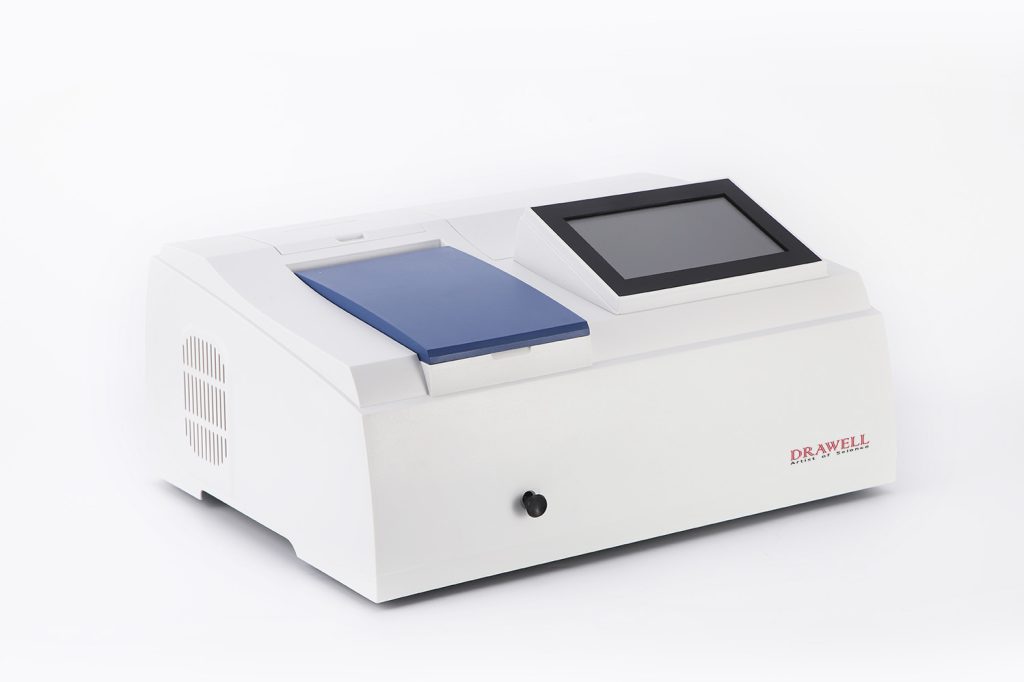
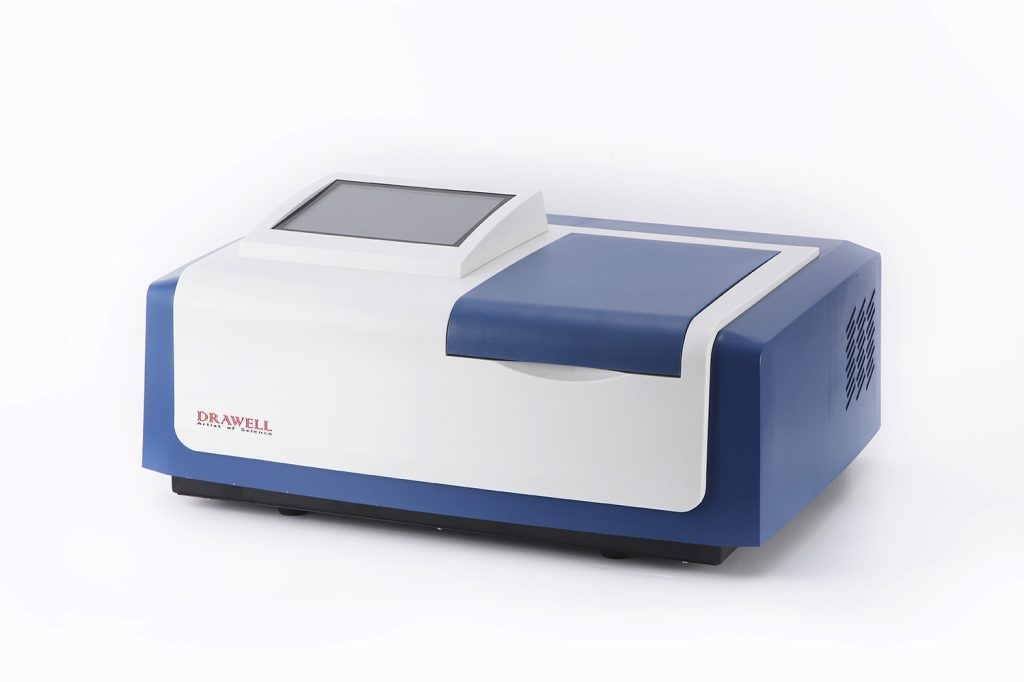
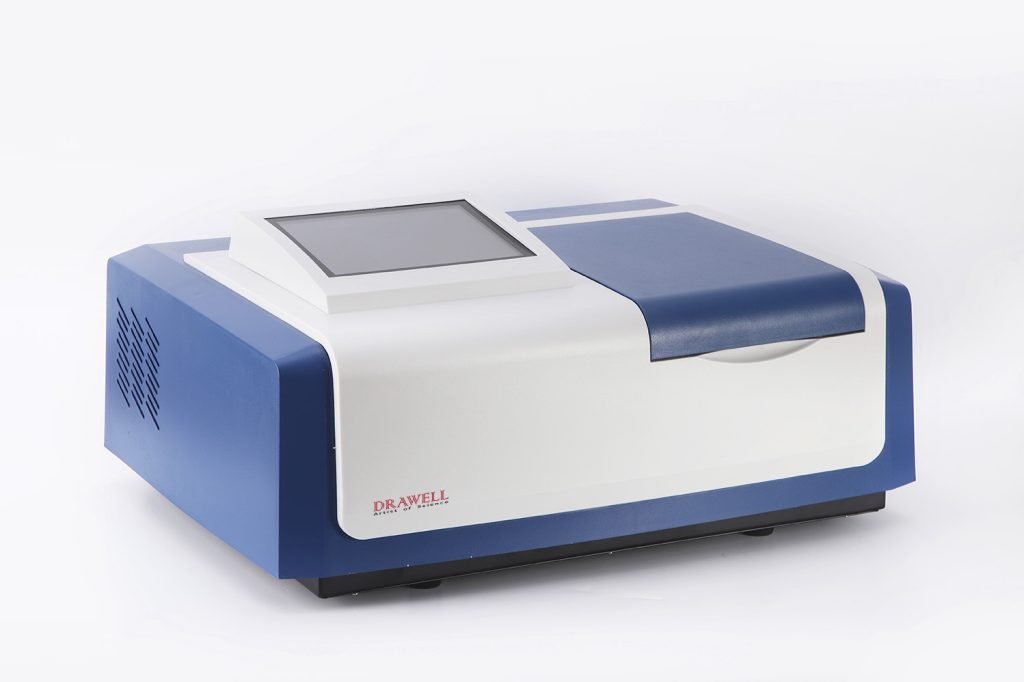
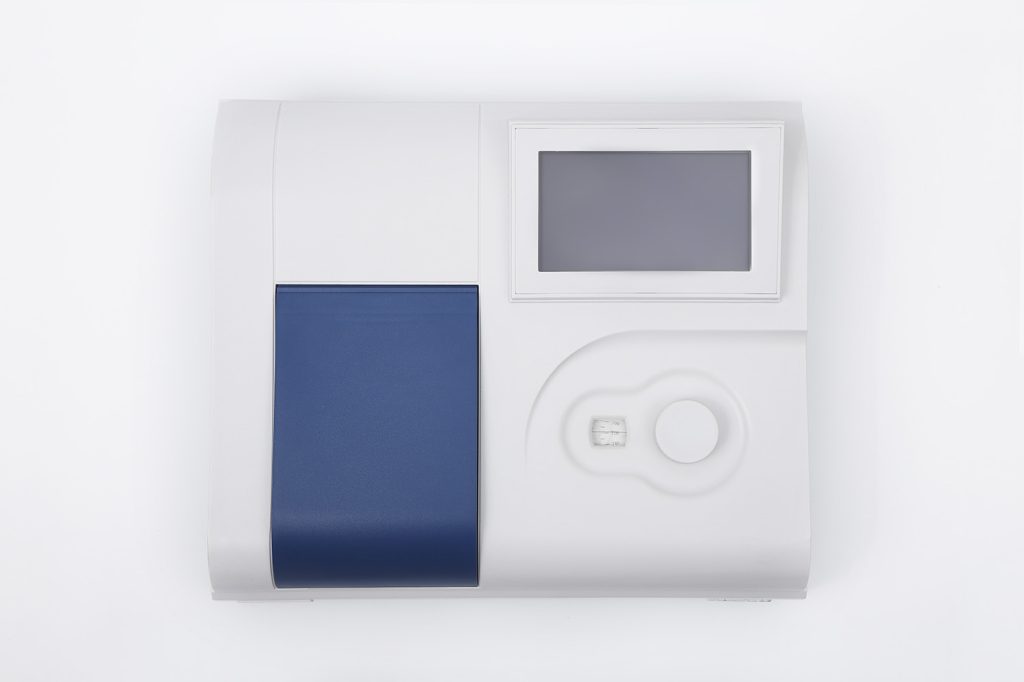
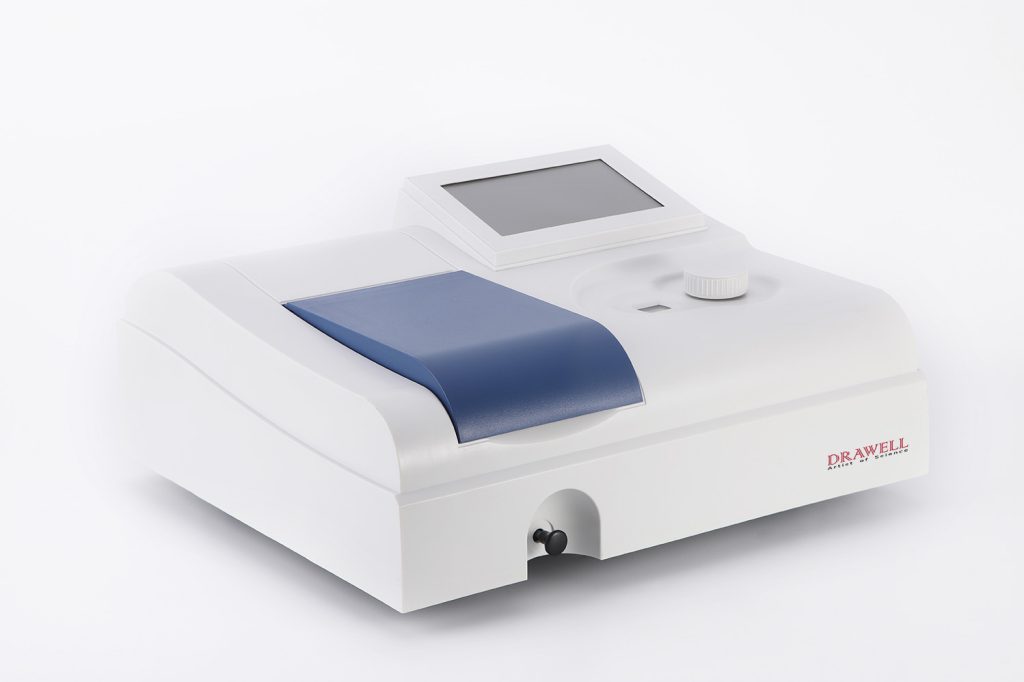
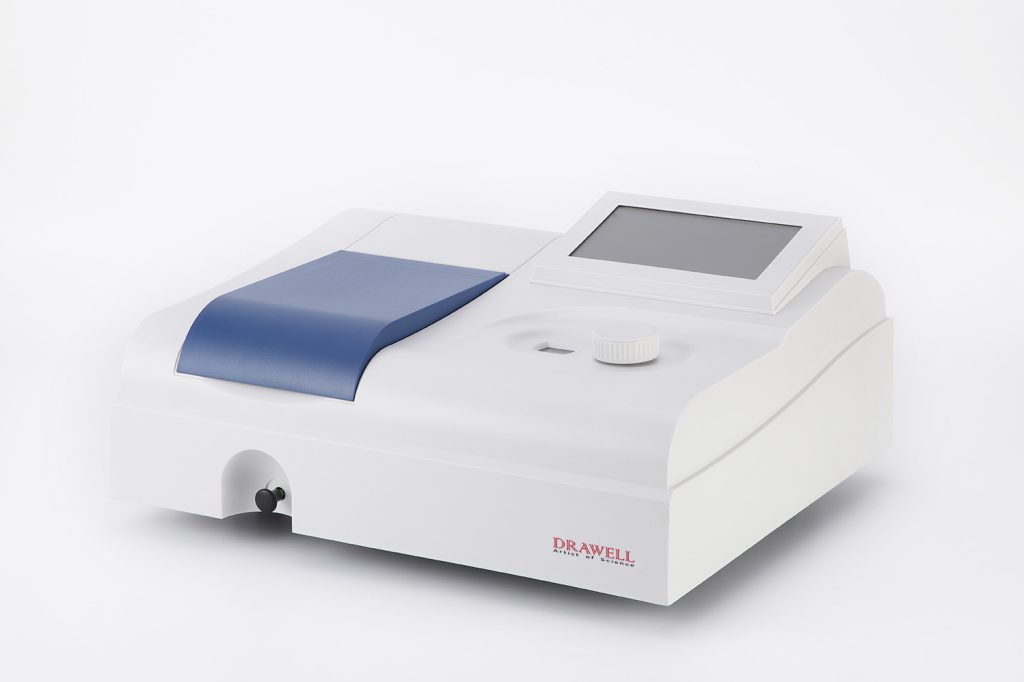
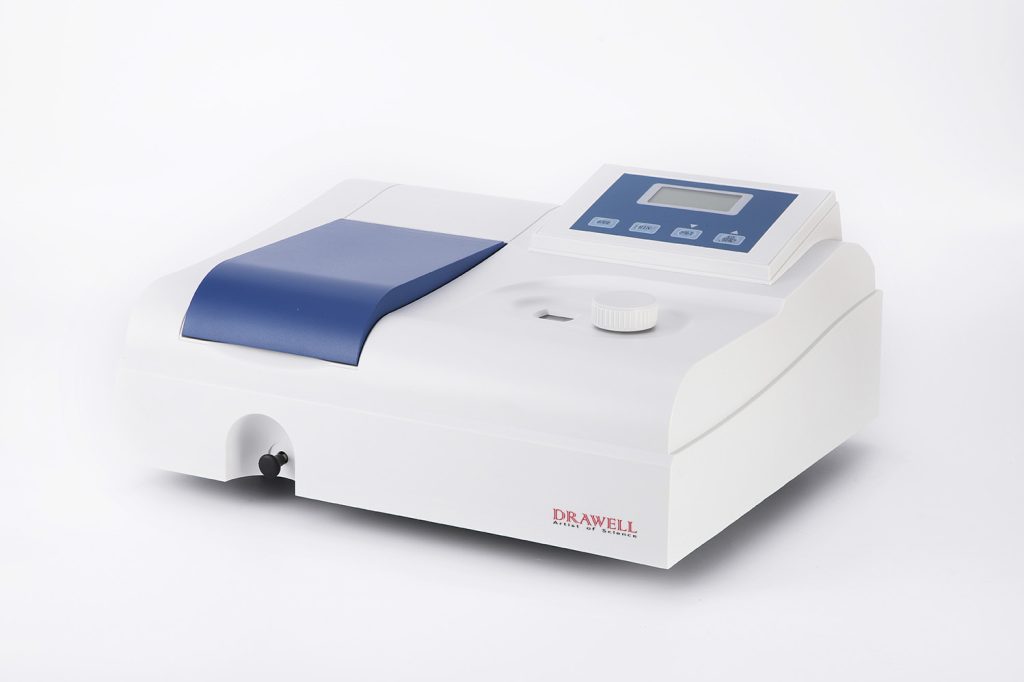
In the realm of analytical chemistry and scientific research, UV-Vis spectrophotometers play a pivotal role in unraveling the secrets hidden within substances. These powerful instruments are designed to measure the absorbance of light in the Ultraviolet-Visible (UV-Vis) range of the electromagnetic spectrum. In this article, we will delve into the UV range of a UV-Vis spectrophotometer and explore how to measure absorbance using this essential tool.
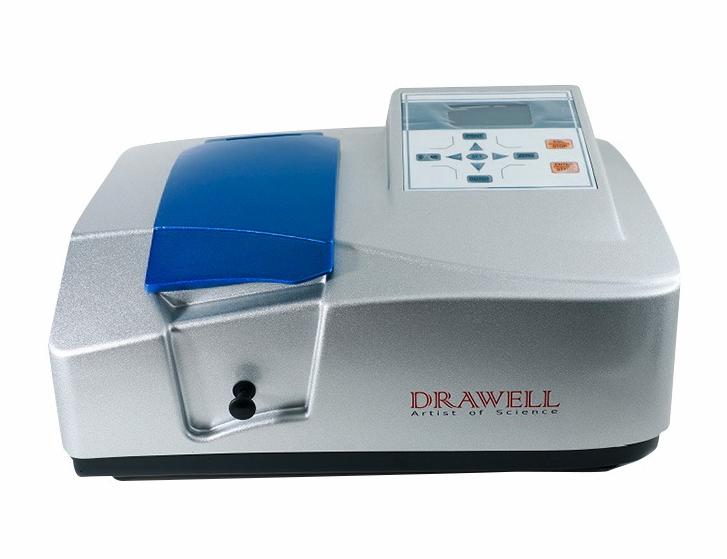
What is the UV Range of a UV-Vis Spectrophotometer?
Understanding the UV range of a spectrophotometer is crucial to harnessing its analytical prowess. UV-Vis spectrophotometers are designed to operate within the UV and visible regions of the electromagnetic spectrum. The UV range specifically refers to the portion of this spectrum where wavelengths fall between approximately 10 nanometers (nm) and 400 nm.
This UV region is further subdivided into two main subranges:
- Ultraviolet A (UVA): This encompasses wavelengths from about 320 nm to 400 nm. UVA is the least energetic part of the UV spectrum and is often associated with long-term skin damage from the sun.
- Ultraviolet B (UVB): UVB spans wavelengths from approximately 280 nm to 320 nm. It is more energetic than UVA and is known for its role in causing sunburn and contributing to skin cancer.
Both UVA and UVB are critically important for various analytical applications. UV-Vis spectrophotometers can measure absorbance in these UV regions to provide valuable insights into the properties of substances.
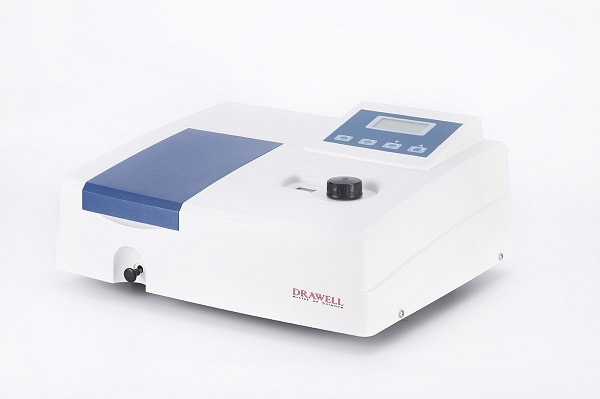
How to Measure Absorbance Using a UV-Vis Spectrophotometer?
Now that we’ve explored the UV range of a spectrophotometer, let’s delve into the practical aspects of measuring absorbance using this instrument. Absorbance, often denoted as “A,” is a fundamental parameter that quantifies the extent to which a substance absorbs light at a specific wavelength. It is a key component in various chemical analyses and is determined using the Lambert-Beer law, also known as Beer’s law.
Here’s a step-by-step guide on how to measure absorbance using a UV-Vis spectrophotometer:
Step 1: Instrument Preparation
Before you can measure absorbance, ensure your UV-Vis spectrophotometer is ready for action:
Turn on the instrument and allow it to warm up, following the manufacturer’s instructions.
Verify that the UV lamp is functioning correctly and is properly calibrated.
Step 2: Sample Preparation
The quality of your sample and how you prepare it significantly impact the accuracy of your measurements:
Prepare your sample, which may involve dilution with a suitable solvent to ensure its absorbance falls within the instrument’s linear range.
Utilize a clean, transparent cuvette (often made of glass or UV-transparent quartz) for your sample. Ensure the cuvette is devoid of scratches or contaminants that could distort the measurement.
Step 3: Wavelength Selection
Choose the appropriate wavelength for your analysis. Most UV-Vis spectrophotometers allow you to select the desired wavelength:
Set the instrument to the wavelength at which you expect substantial absorption to occur for your sample.
Step 4: Baseline Correction
To obtain accurate absorbance measurements, you’ll need to correct for baseline absorbance due to the solvent or reference solution:
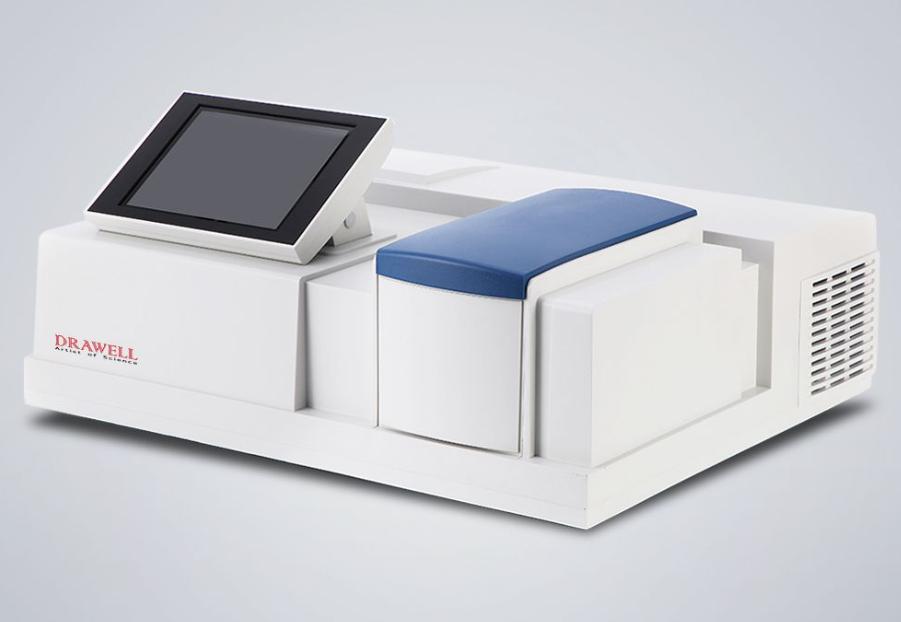
Place a cuvette containing the solvent or reference solution into the spectrophotometer’s sample compartment.
Close the compartment to prevent stray light from entering.
Set the spectrophotometer to “T” or “0 Absorbance” mode. This establishes a baseline absorbance reading, automatically adjusting to zero absorbance using the reference solution.
Step 5: Measurement
With the baseline corrected, it’s time to measure the absorbance of your sample:
Replace the reference solution cuvette with the cuvette containing your prepared sample.
Close the sample compartment to ensure that stray light does not interfere with the measurement.
The instrument will now display the absorbance (A) of your sample at the selected wavelength. Record this absorbance value.
Step 6: Calibration (if Necessary)
If your objective is to quantify the concentration of a substance in your sample, you may need to establish a calibration curve:
Create a series of standard solutions with known concentrations of the analyte.
Measure the absorbance of these standard solutions at the same wavelength used for your sample.
Plot a calibration curve by graphing the known concentrations against their respective absorbance values. This curve serves as a reference for determining the concentration of the analyte in your sample.
Step 7: Data Analysis
Utilize the measured absorbance values to calculate concentration or glean insights into the optical properties of your sample. You can use the Lambert-Beer law (A = εlc), where A is absorbance, ε is molar absorptivity, l is the path length of the cuvette, and c is concentration.
Conclusion
UV-Vis spectrophotometers are indispensable tools for scientists and researchers across diverse fields. Their ability to measure absorbance within the UV range empowers us to explore the intricate properties of substances, quantify concentrations, and unveil the secrets of molecular interactions. Whether you’re a chemist, biologist, environmental scientist, or materials researcher, mastering the art of measuring absorbance with a UV-Vis spectrophotometer opens doors to a world of analytical possibilities, enabling groundbreaking discoveries and enhancing our understanding of the natural and synthetic realms.

